How to Prevent Air Bubbles in Nail Polish or Acrylic Designs
- Last Updated on
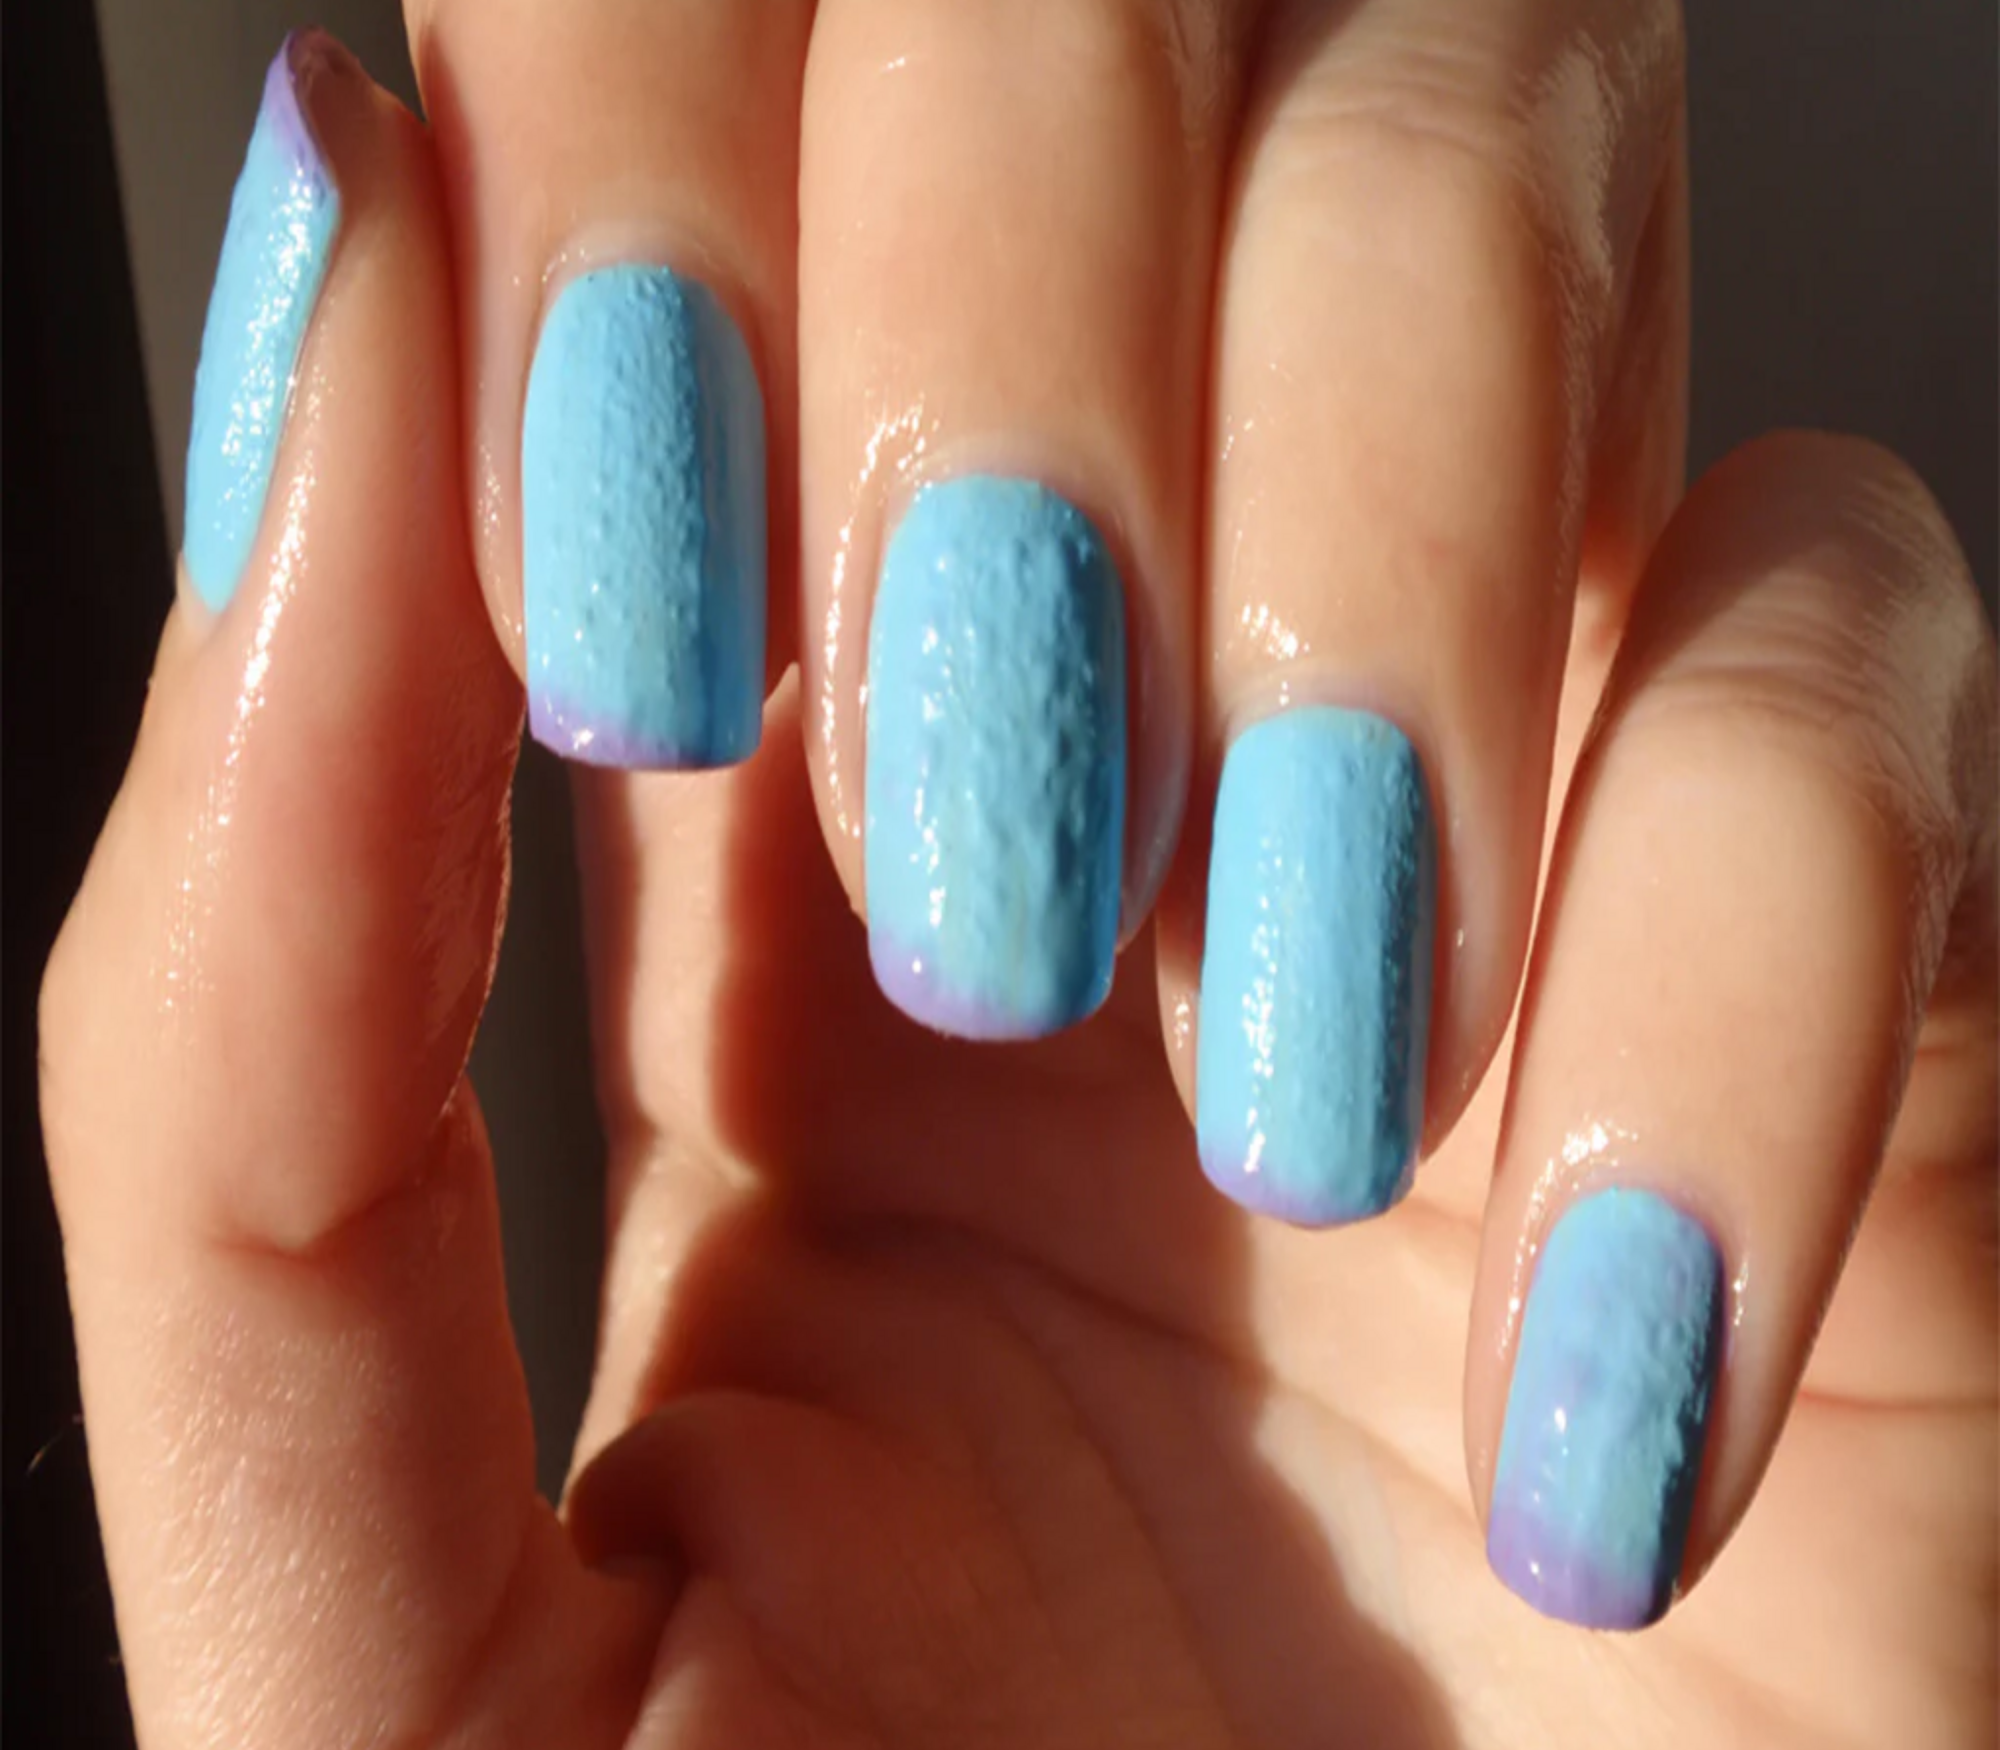
Image: ndnailsupply.com
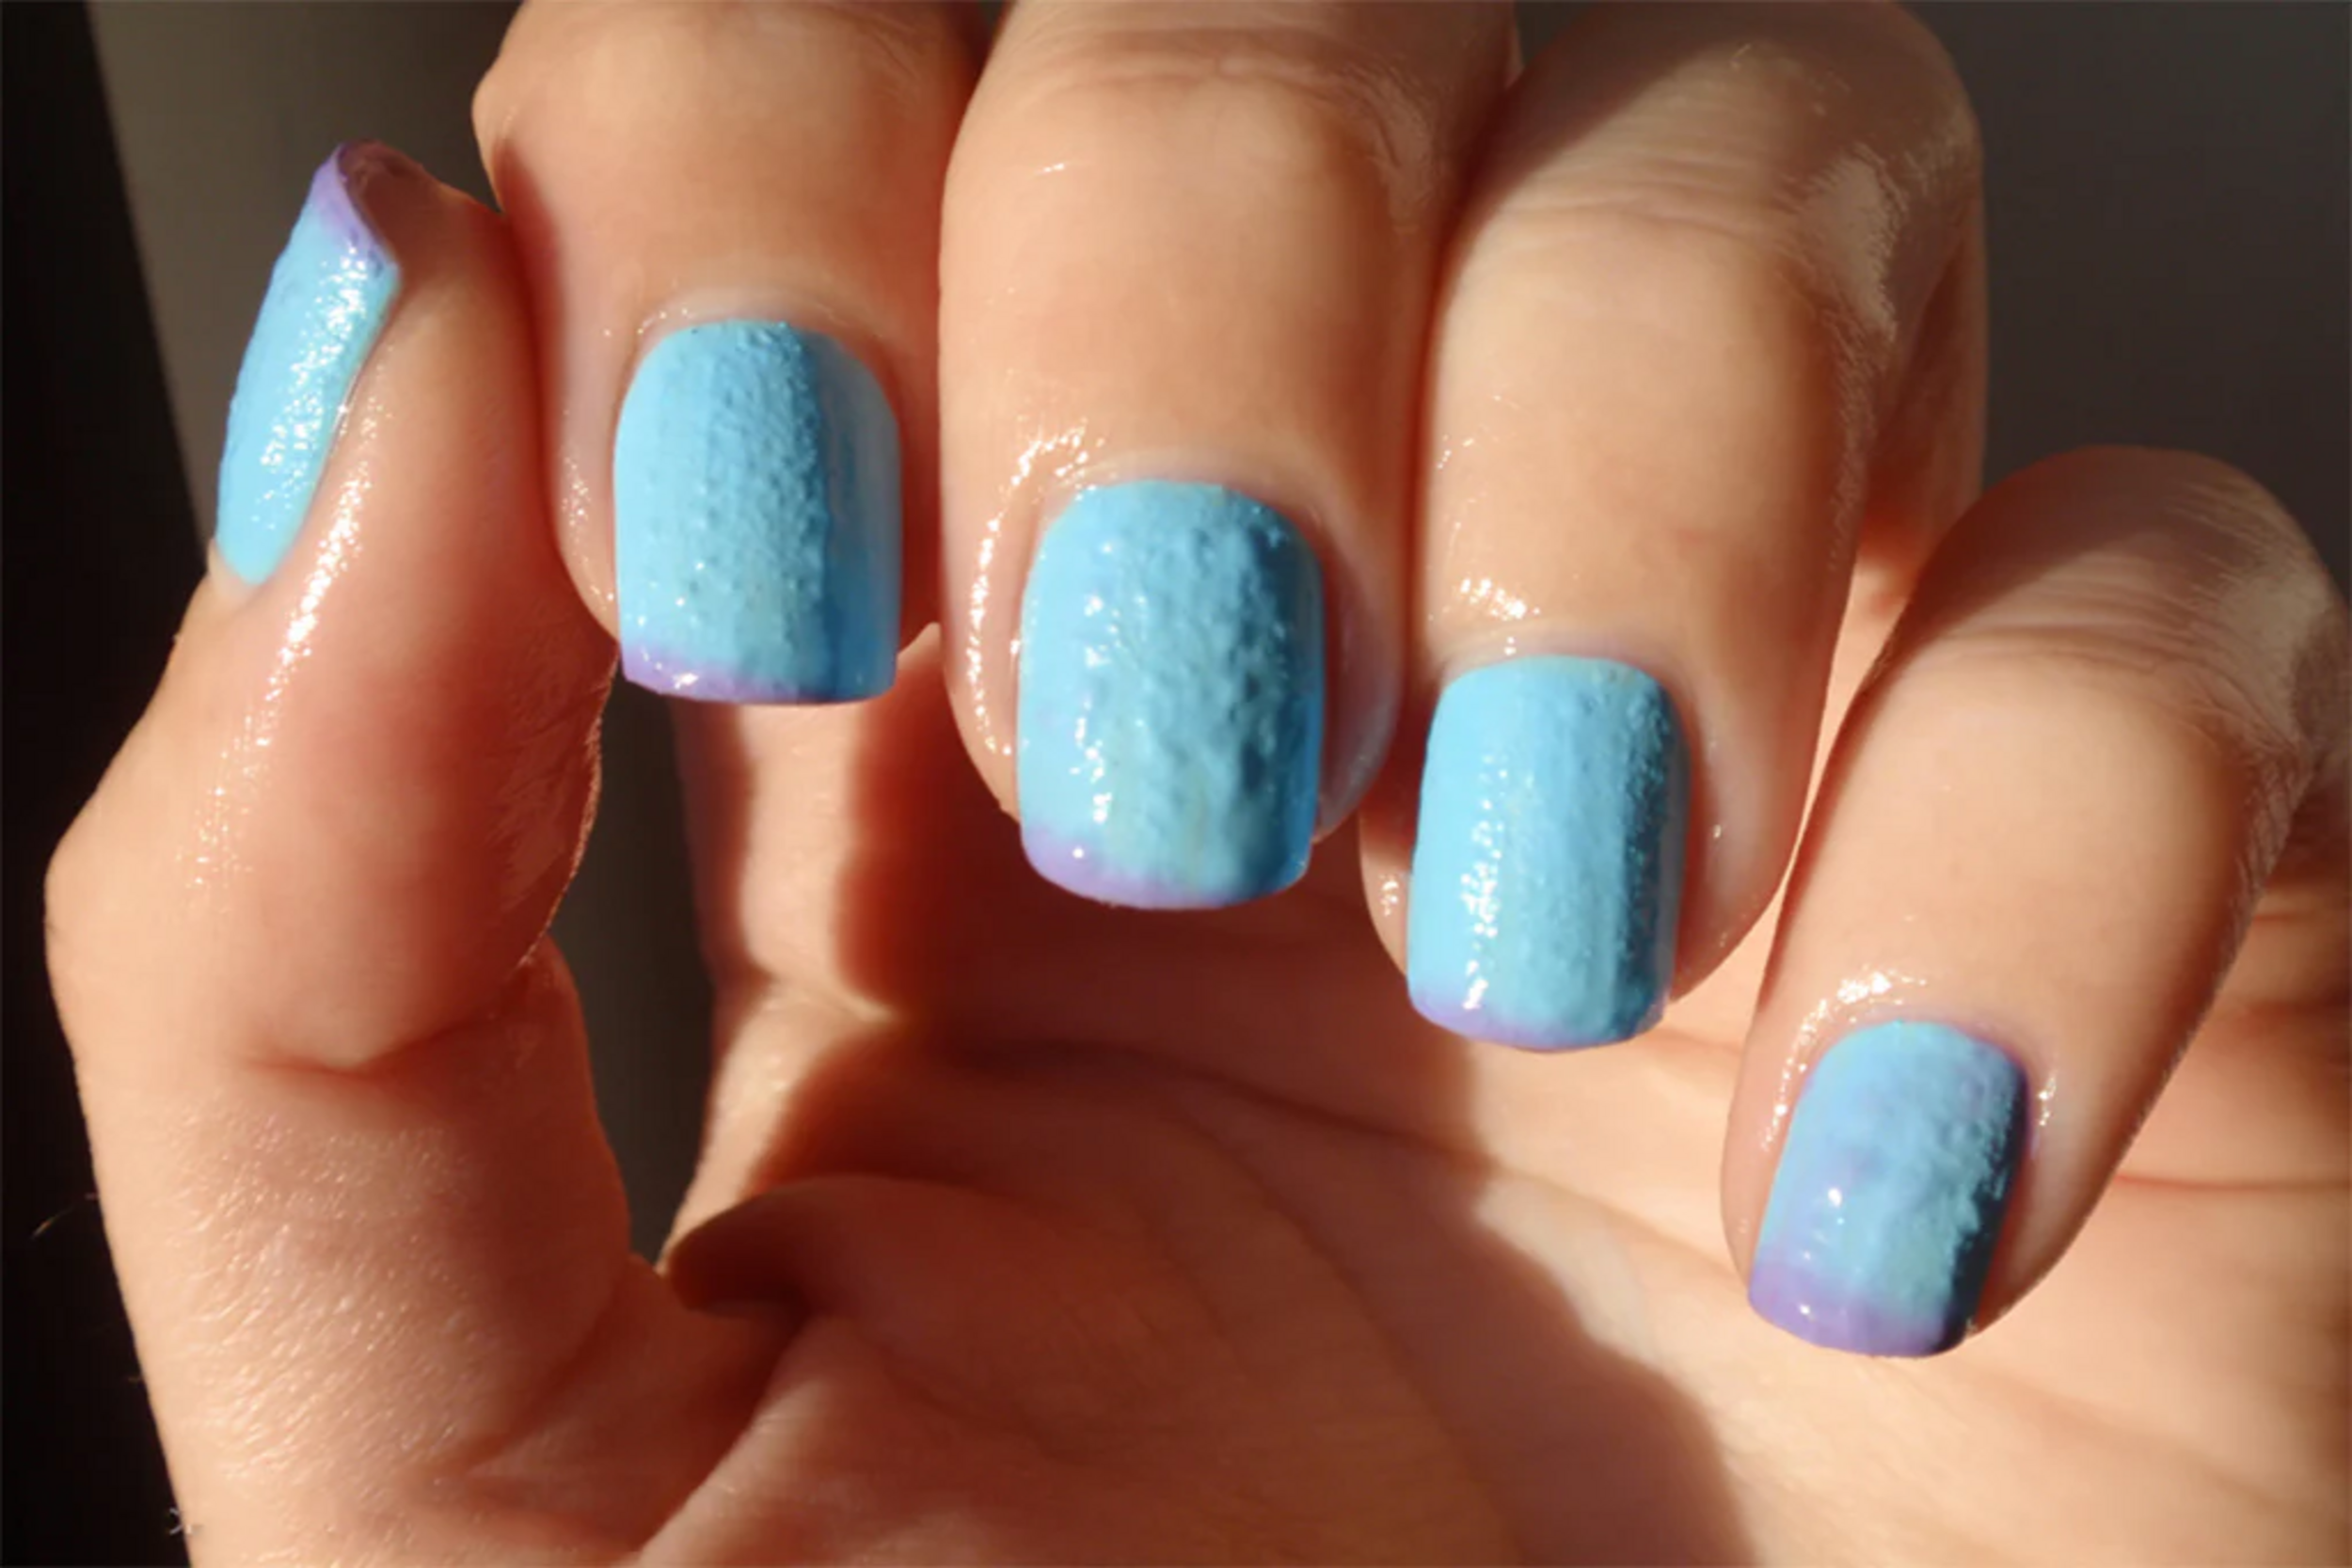
Are you tired of seeing tiny, annoying air bubbles ruin your nail polish or acrylic designs? Dealing with bubbles can be frustrating and can compromise the flawless finish you aim to achieve. But what causes these air bubbles, and how can you eliminate them from your nail application process?
In this comprehensive guide, we’ll walk you through actionable steps to prevent air bubbles from forming in your nail polish or acrylic designs. From the tools and products you’ll need to proper application techniques and maintenance routines, this article will arm you with all the knowledge to achieve a smooth, bubble-free manicure every time.
Articles Contains
- What Cause These Air Bubbles?
- Pro Tips Perfecting Your Nail Application Without Air Bubbles
- Final Thoughts
- Key Takeaways
- Frequently Asked Questions
- References
What Causes These Air Bubbles?
Air bubbles in nail polish or acrylic designs are usually caused by air being trapped in the product. This can happen if the bottle is shaken too hard or if the product is overworked during application (1). Thick layers of polish or acrylic can also trap air between them. Environmental factors like humidity and temperature changes can cause uneven drying, which leads to bubbles. Using old or thickened products can also result in bubbles, as the formula doesn’t apply smoothly. Proper application and fresh products help prevent these issues.
Pro Tips for Perfecting Your Nail Application Without Air Bubbles
1. Start With Clean Nails
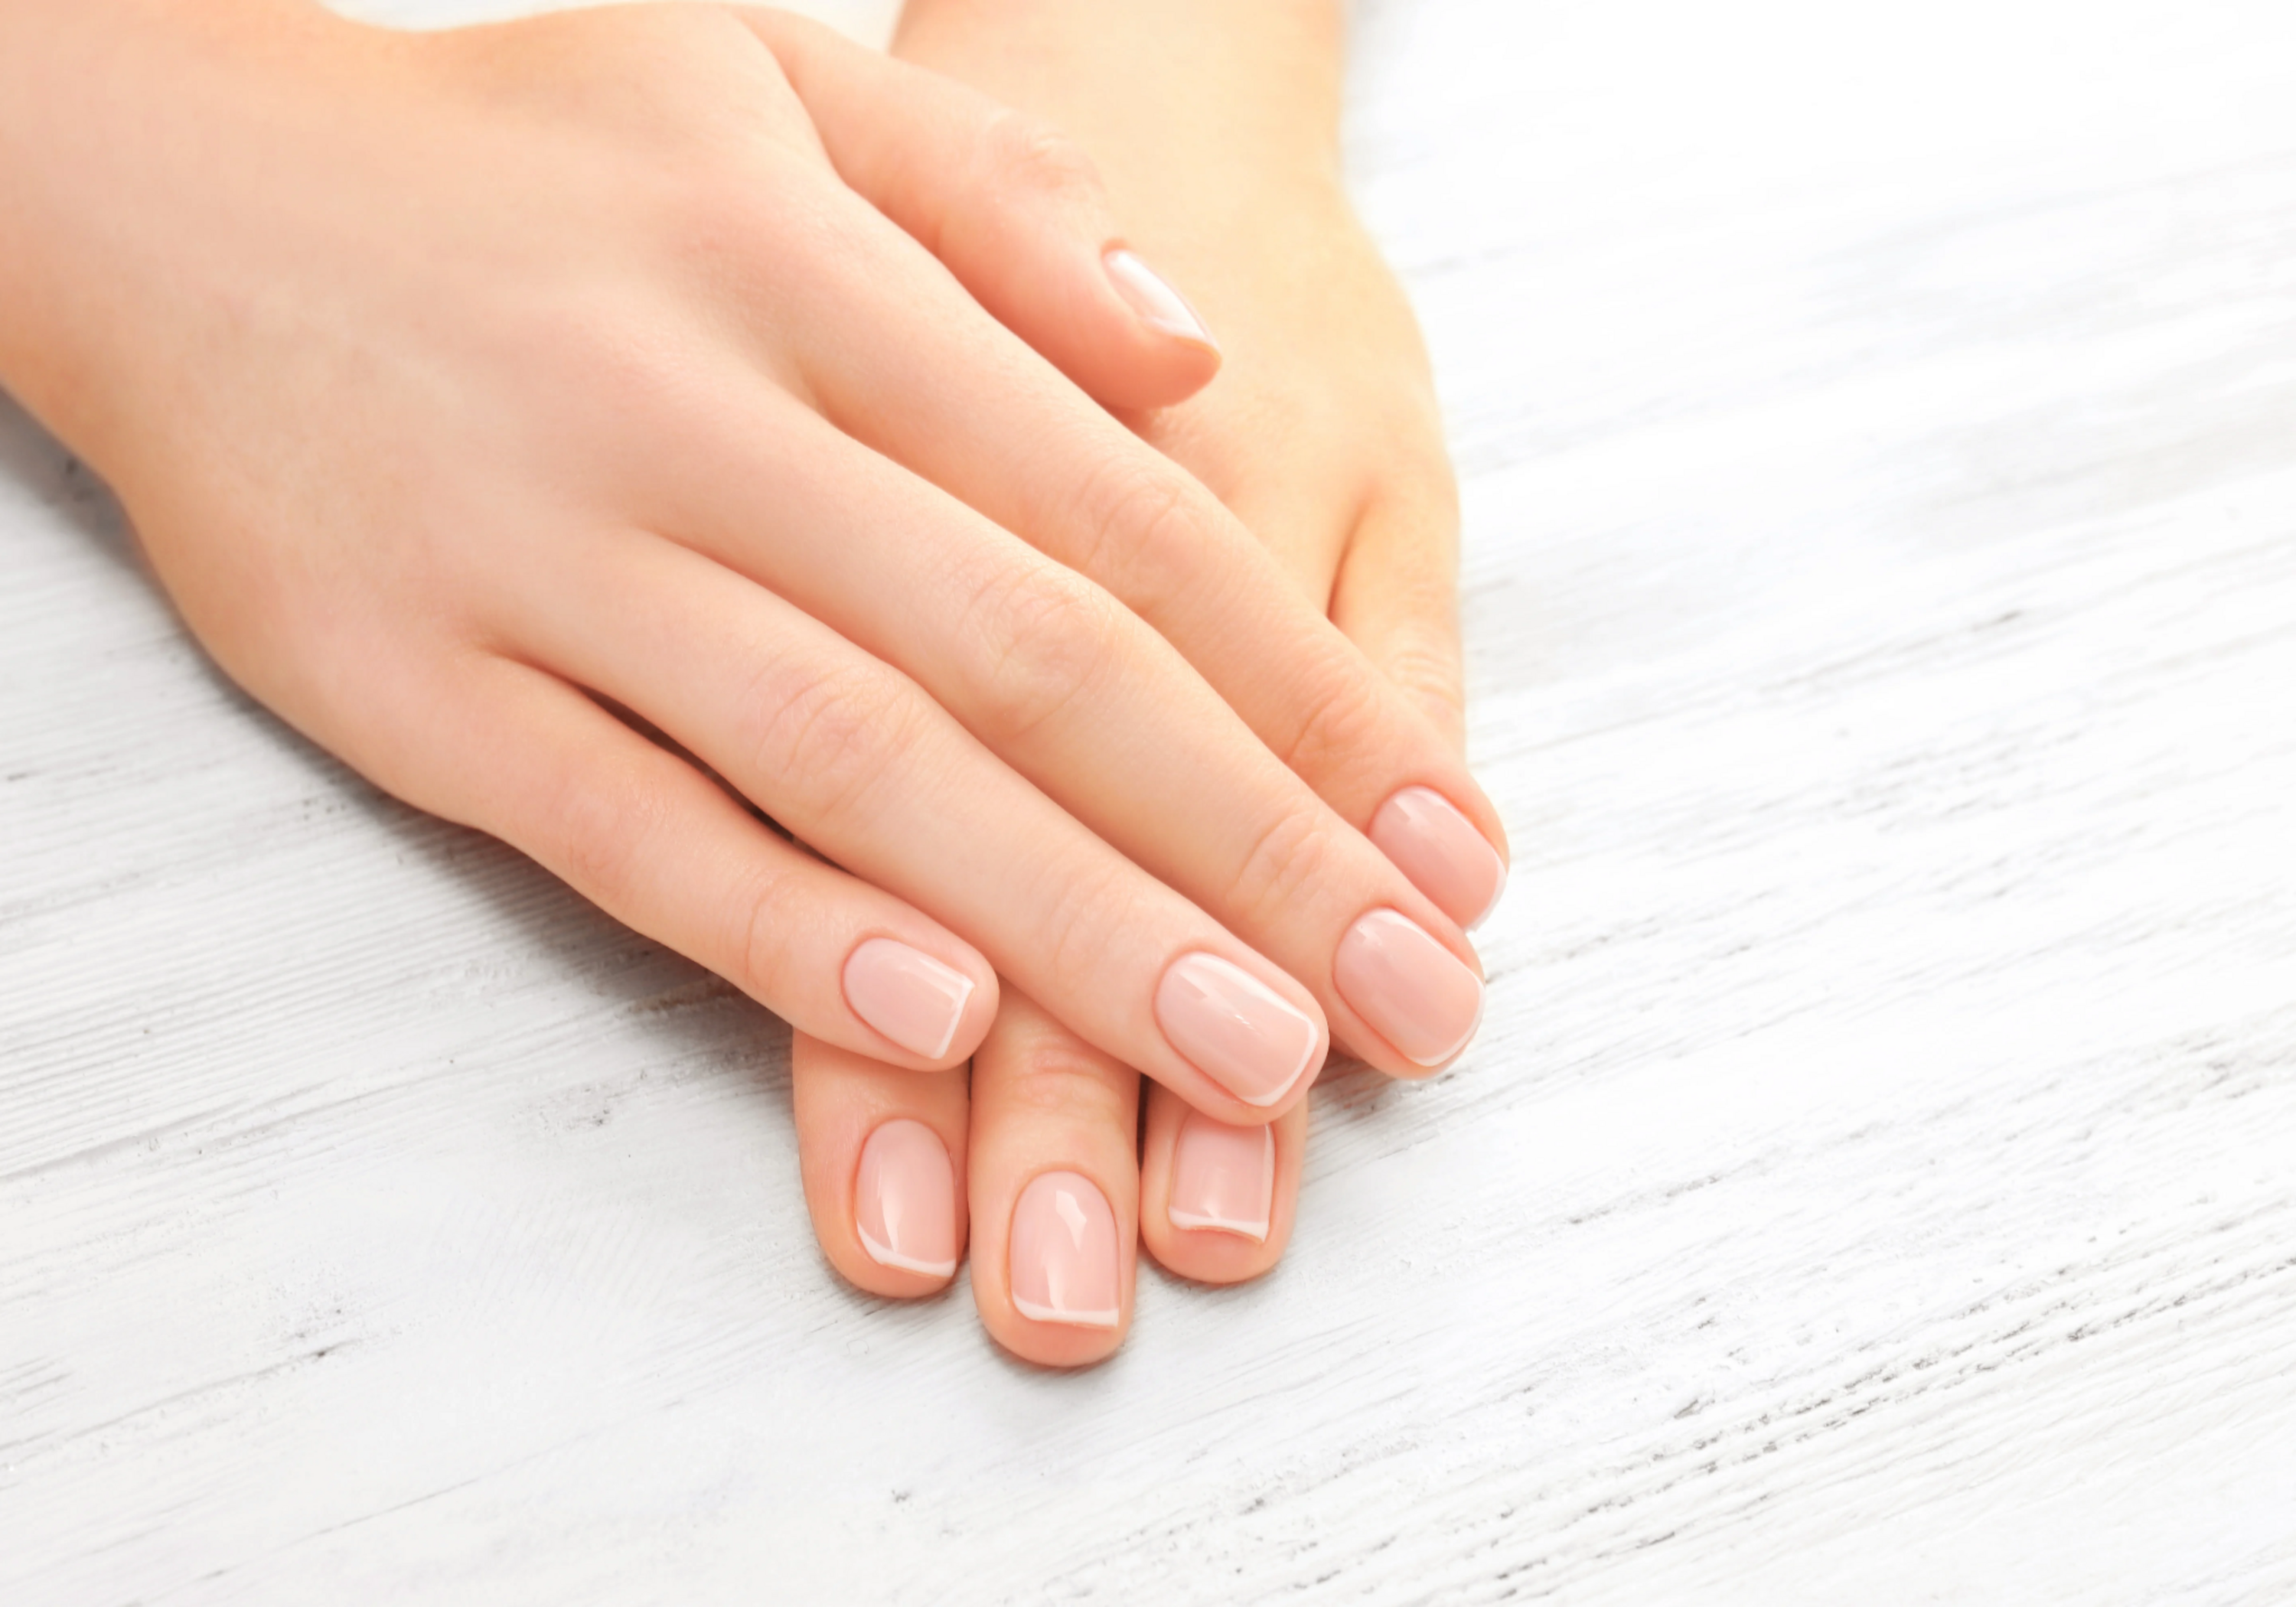
Image: scmp.com
What You Need:
- Nail polish remover or rubbing alcohol
- Lint-free wipes
- Cuticle pusher
- Nail buffer
What to Do:
- Begin by removing any existing polish, oil, or residue from your nails using nail polish remover or rubbing alcohol. Use lint-free wipes to prevent fibers from sticking to your nails. (3)
- Push back your cuticles gently with a cuticle pusher to create a smooth surface.
- Lightly buff the surface of your nails to remove ridges or uneven textures. Buffing also helps the nail polish or acrylic adhere better.
- Wash your hands with soap and water to remove any leftover dust or debris, then dry thoroughly.
How Often:
Do this before every nail polish or acrylic application to ensure a smooth and clean base.
2. Avoid Moisturizing Right Before Application
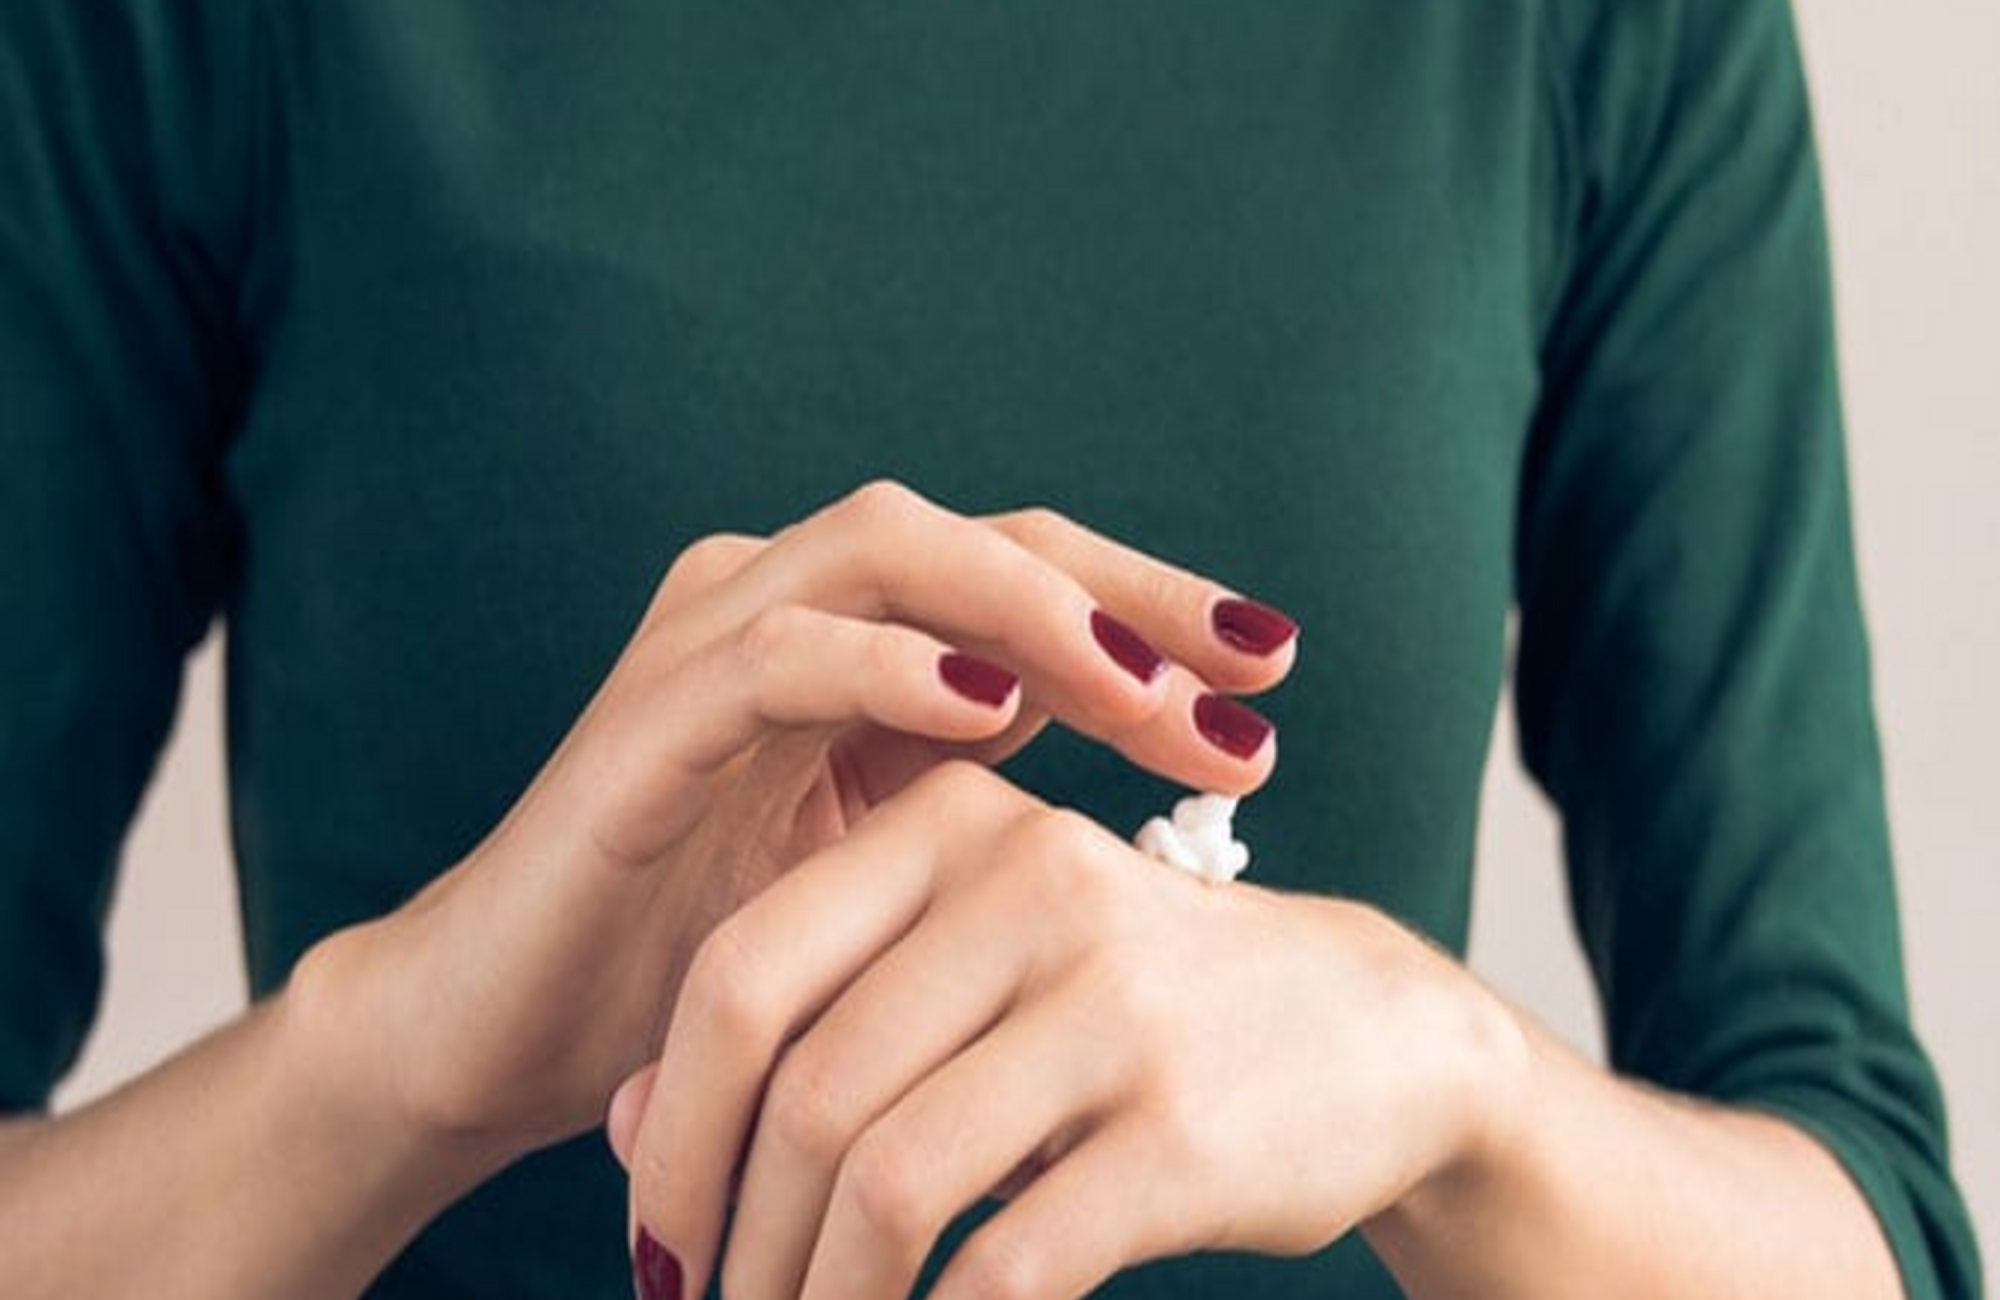
Image: mooresvilledermcenter.com
What You Need:
- A non-greasy hand lotion (for after application)
What to Do:
- Avoid applying hand lotion or cuticle oil right before starting your manicure. These products can leave a slick layer on your nails, preventing the polish or acrylic from adhering properly and increasing the risk of bubbles. (5)
- If your nails feel dry, hydrate them well the night before instead of immediately before your manicure.
How Often:
Every time you prep for a manicure, skip moisturizing your nails or hands directly beforehand.
3. Use High-Quality Products
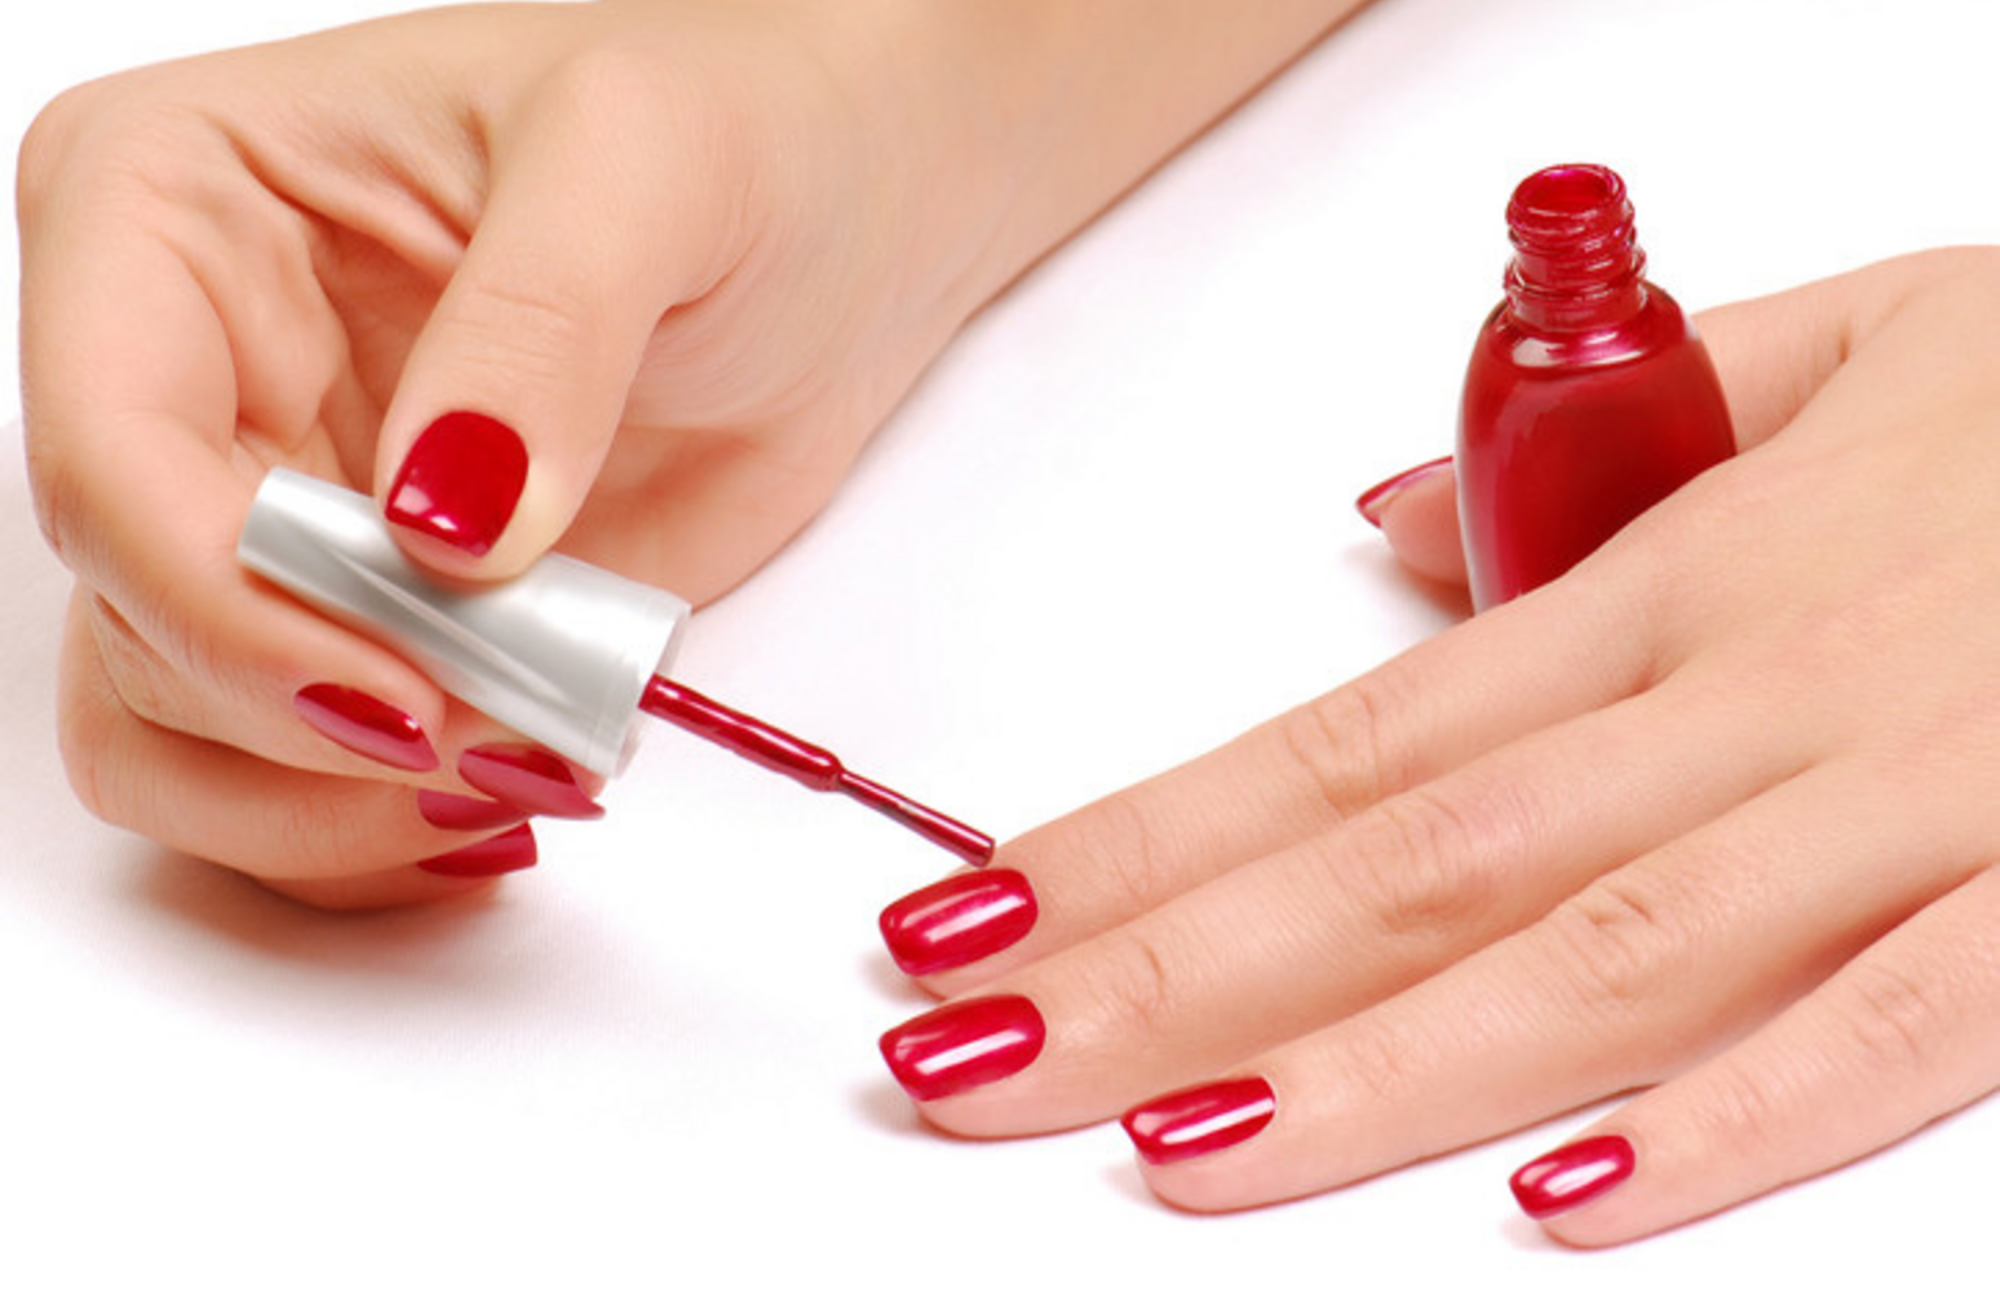
Image: health.harvard.edu
What You Need:
- High-quality nail polish or acrylic powder
- A compatible base coat and top coat
What to Do:
- Invest in reputable nail brands that are known for their smooth application and long-lasting formulas. High-quality products are less likely to clump or trap air during application.
- Avoid old or thickened nail polish. If you must use it, add a few drops of nail polish thinner, not acetone, to restore its consistency.
How Often:
Always use fresh, high-quality products during every manicure session. Discard products past their prime.
4. Use a Base Coat Properly
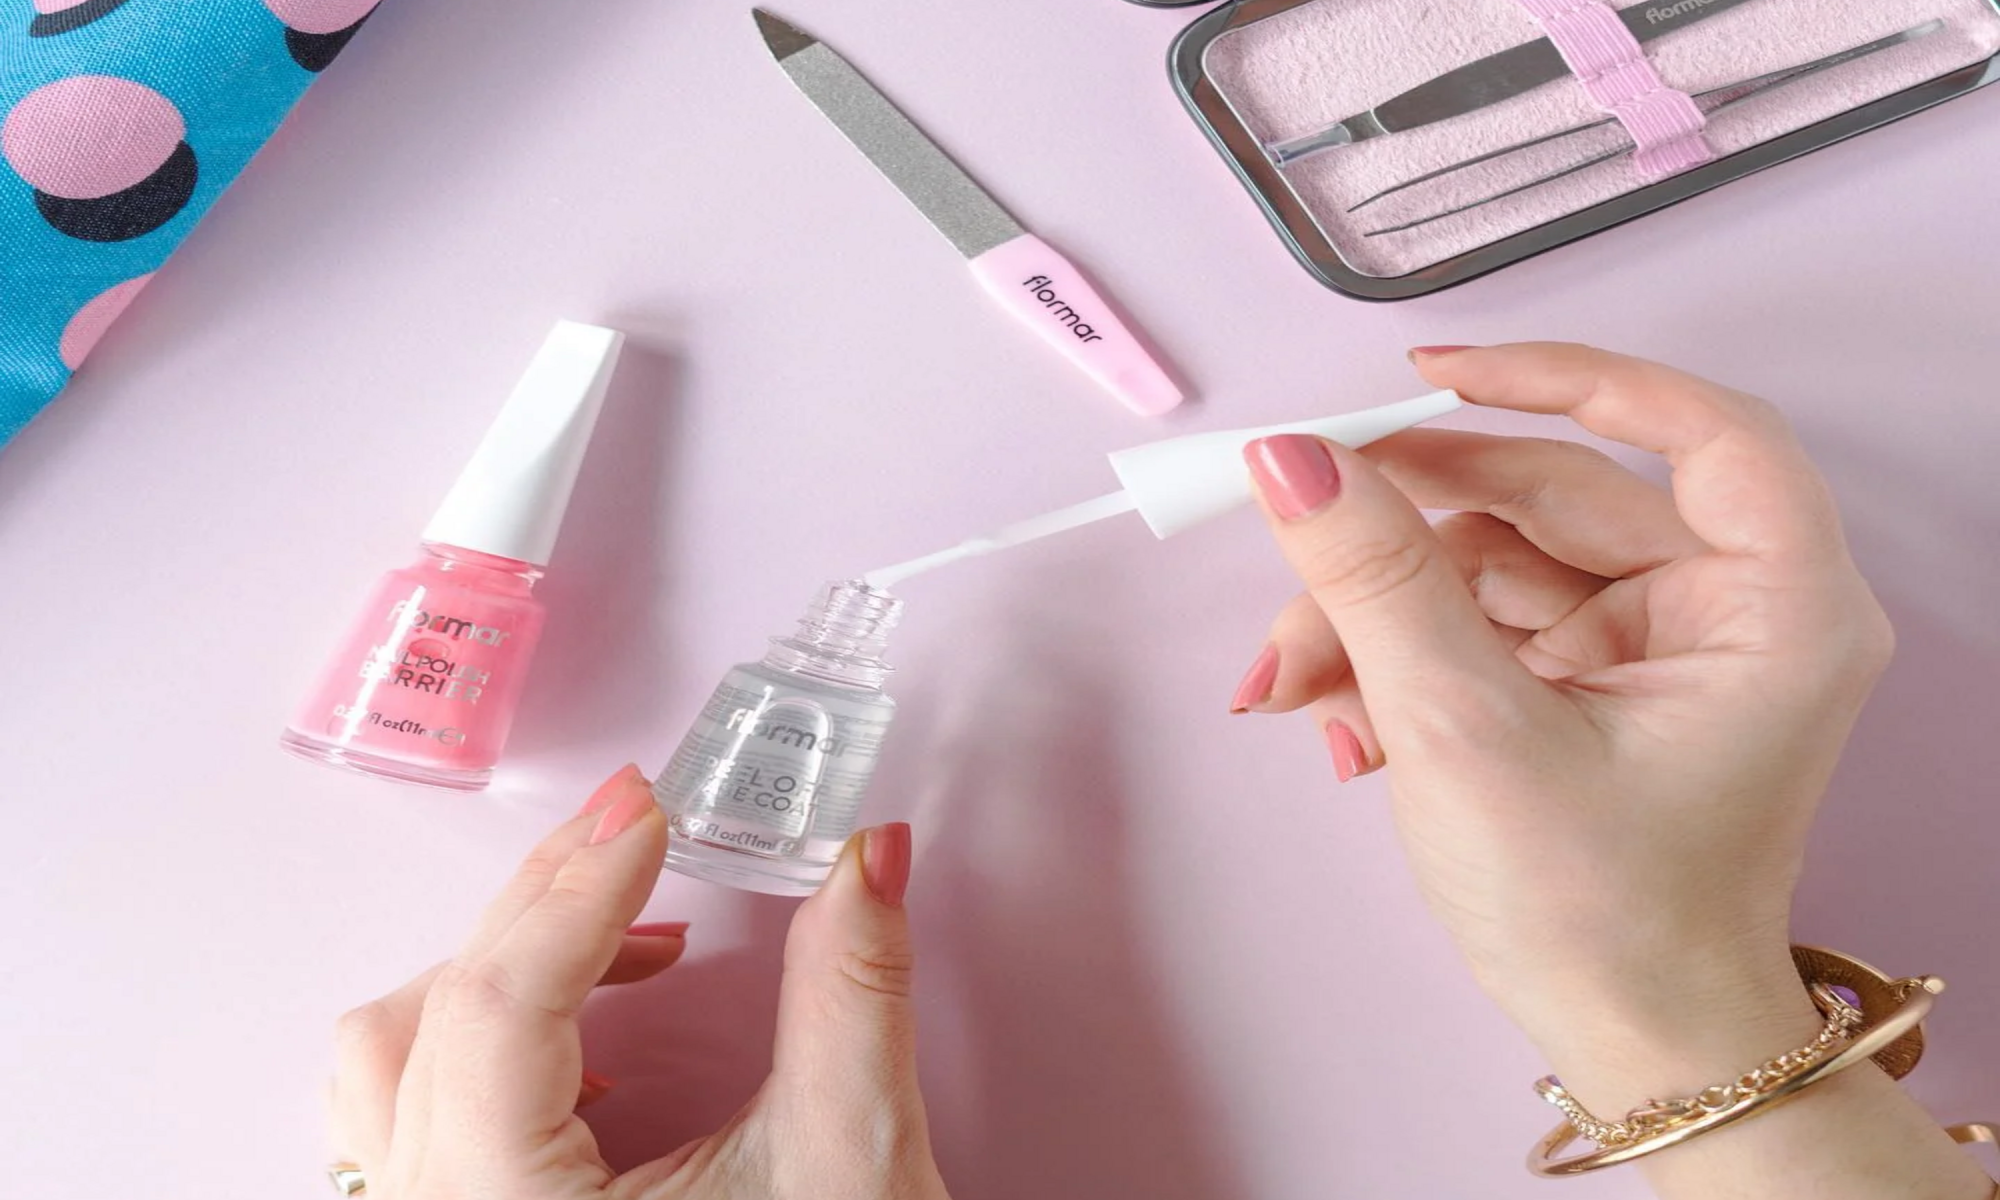
Image: rios.pk
What You Need:
- A smooth, high-quality base coat (1)
What to Do:
- Apply a thin layer of base coat to even out the nail surface and improve polish adhesion. A good base coat prevents polish or acrylic from settling into uneven areas, where bubbles are more likely to form.
- Allow the base coat to dry completely before adding color.
How Often:
Use a base coat before every manicure or acrylic application for a smoother, bubble-free finish.
5. Roll, Don’t Shake, Your Nail Polish Bottle
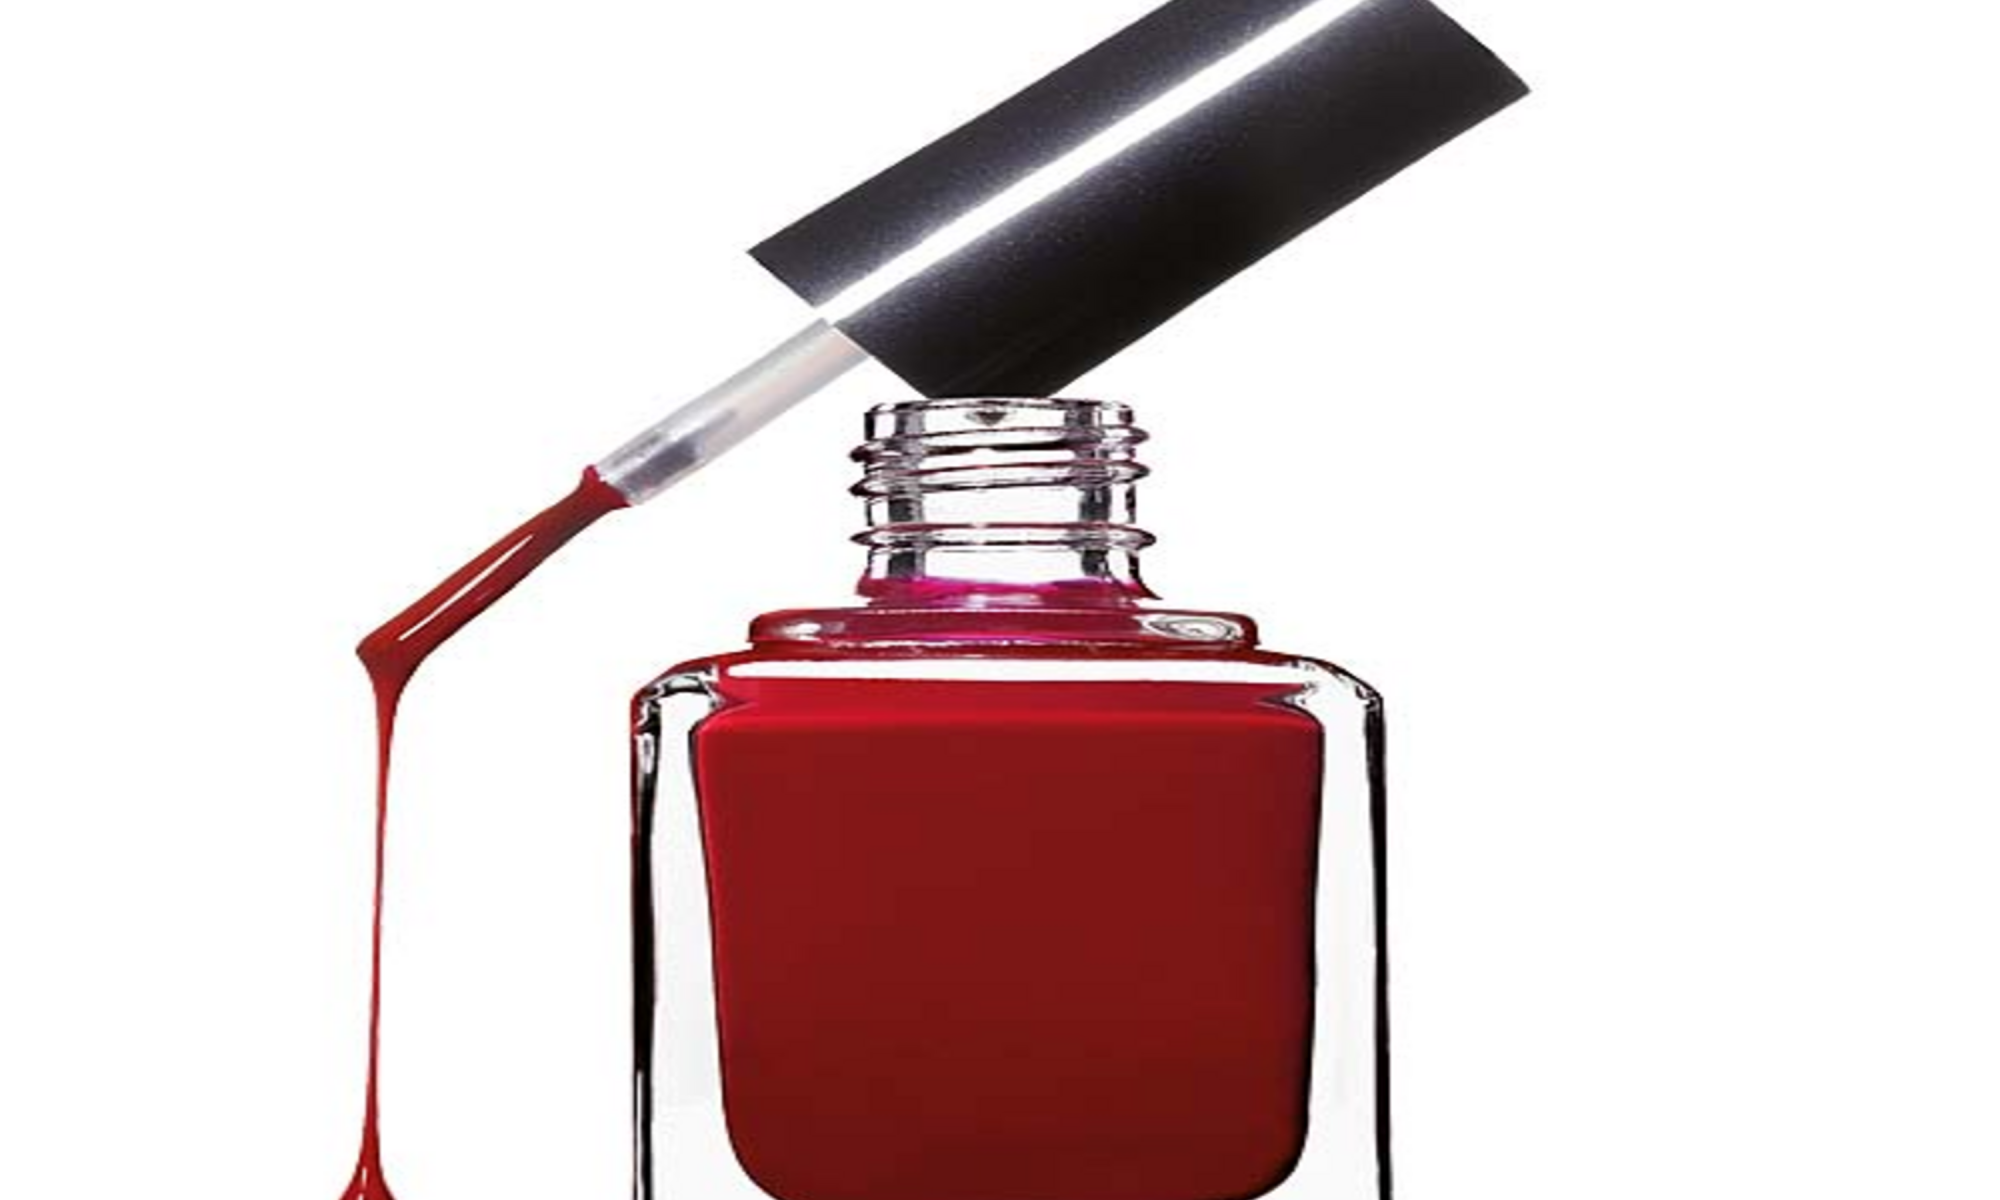
Image: byk-instruments.com
What You Need:
- Your nail polish bottle
What to Do:
- Instead of shaking the nail polish bottle, roll it gently between your palms for about 20–30 seconds. This prevents air from being introduced into the formula. (1)
- If bubbles have already formed from shaking, allow the bottle to rest upright for at least 10 minutes before use. (2)
How Often:
Roll the bottle before every use to ensure even distribution of the formula without air bubbles.
6. Apply Thin, Even Coats
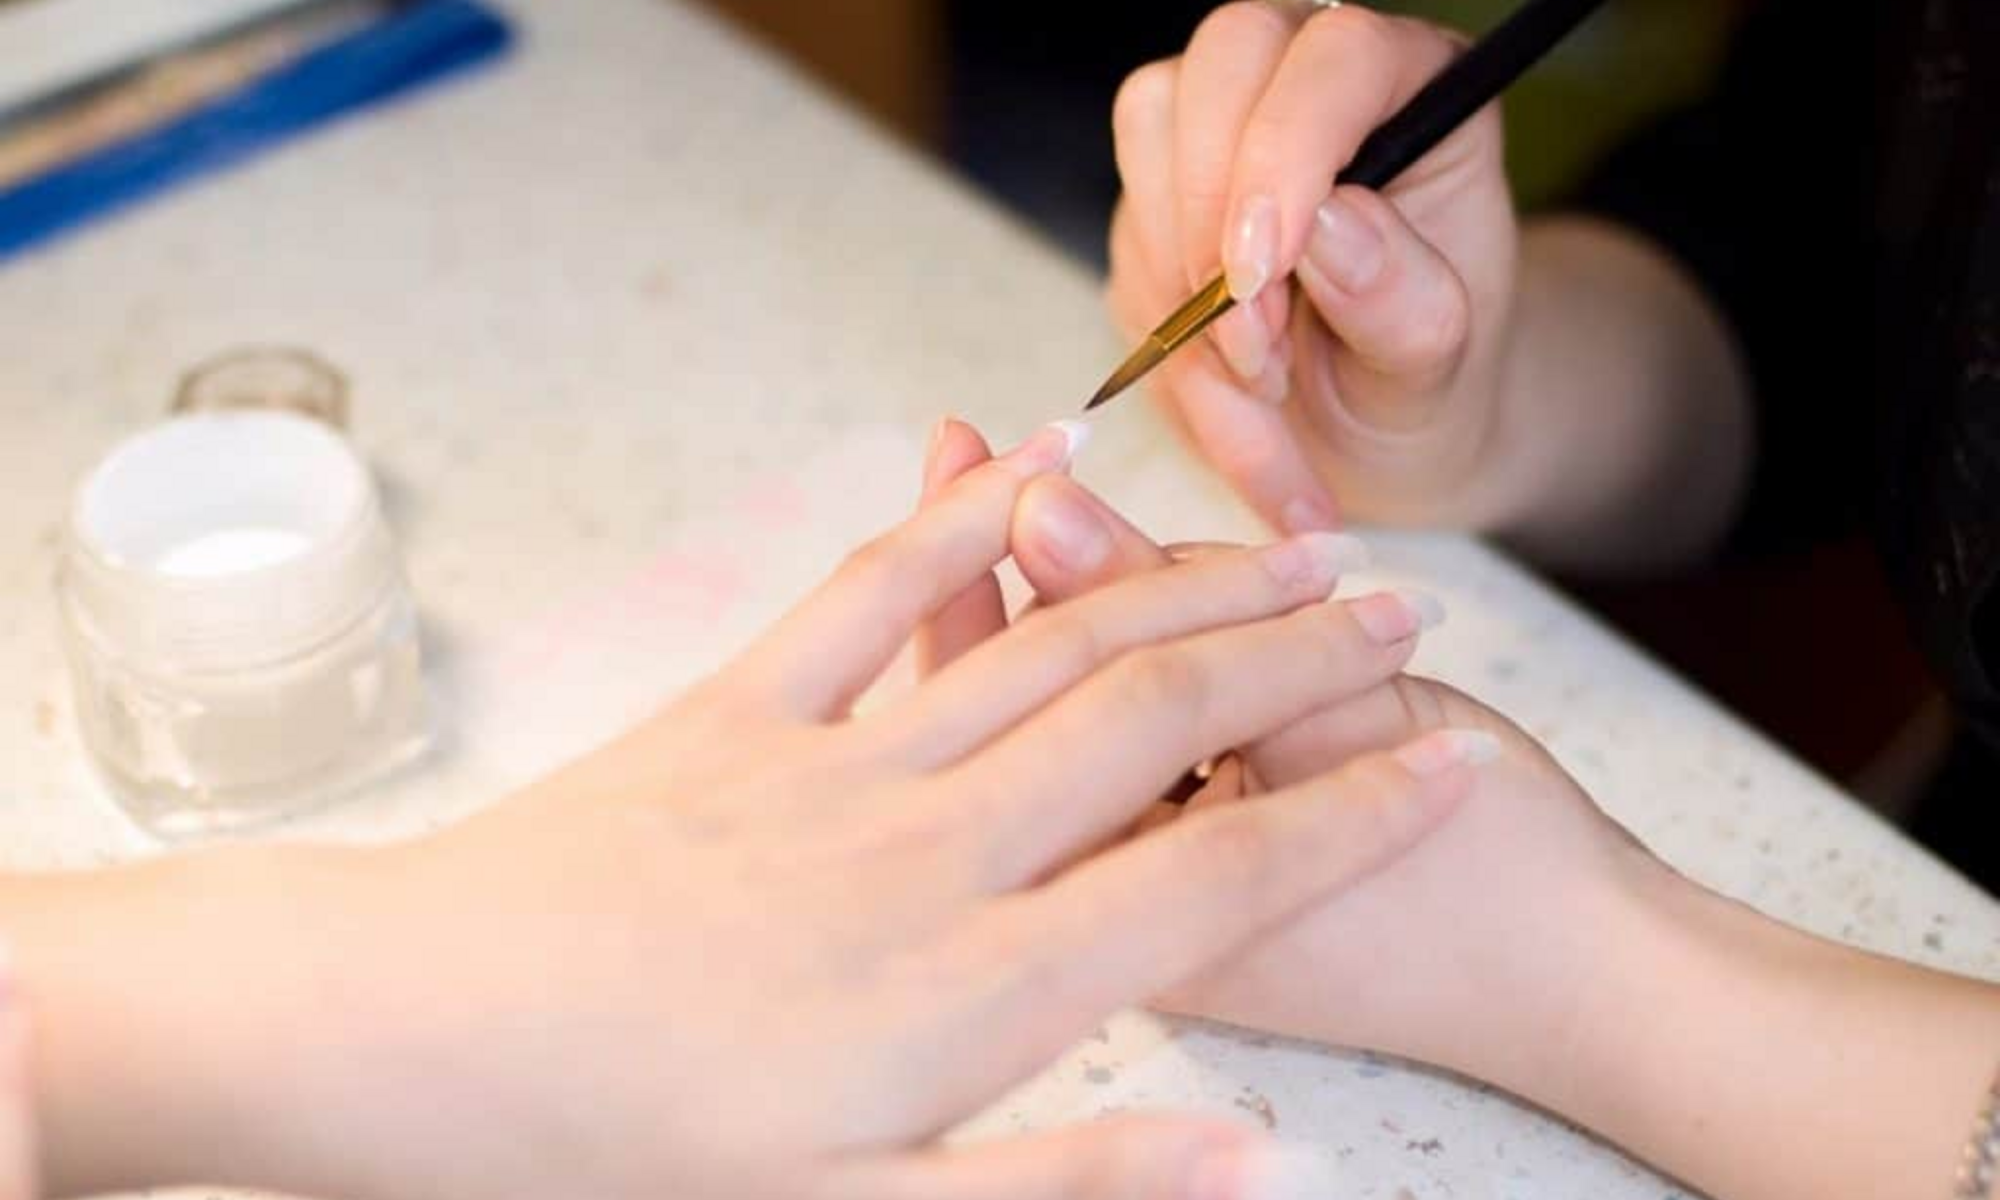
Image: weheartthis.com
What You Need:
- Nail polish or acrylic brush (1)
What to Do:
- Avoid overloading the brush with product. Wipe off excess polish or acrylic liquid on the bottle rim before applying.
- Apply thin, even layers, starting from the center of the nail and working toward the edges.
- Before applying the next layer, let the previous one completely dry. This prevents air from being trapped between layers.
How Often:
Every time you apply nail polish or acrylic designs, stick to thin, even coats for best results.
7. Control Your Environment
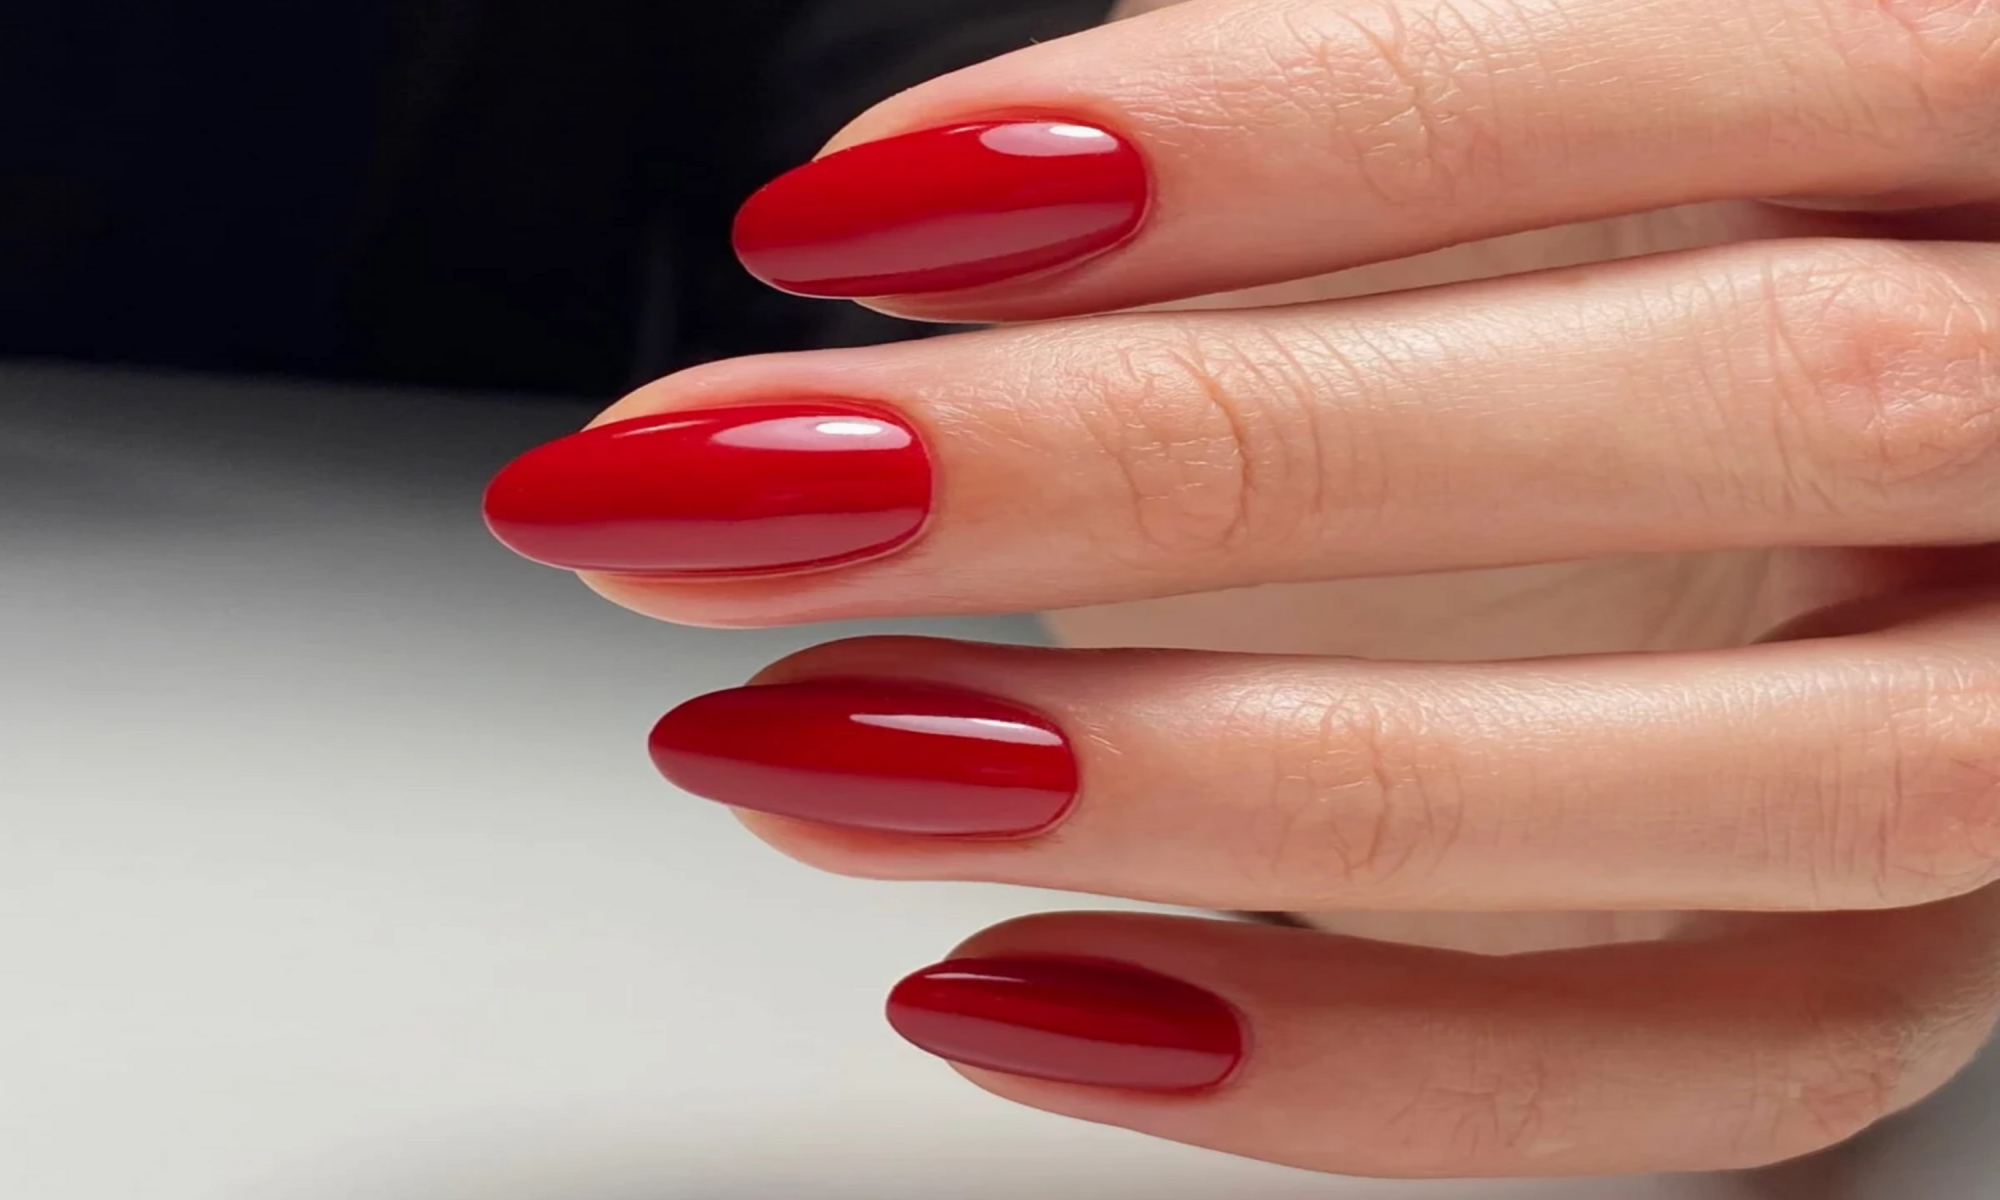
Image: lakieryhybrydowe.pl
What You Need:
- A well-ventilated room
- A consistent temperature (68–77°F or 20–25°C) (1)
What to Do:
- Avoid doing your nails in humid or overly warm environments, as this can cause the polish or acrylic to dry unevenly, trapping air bubbles. (3)
- Work in a well-ventilated area with a stable temperature. If your room is too cold, the products may thicken and be harder to work with.
How Often:
Always consider your environment before starting a manicure session to maintain the ideal conditions for bubble-free application.
8. Avoid Overworking the Product
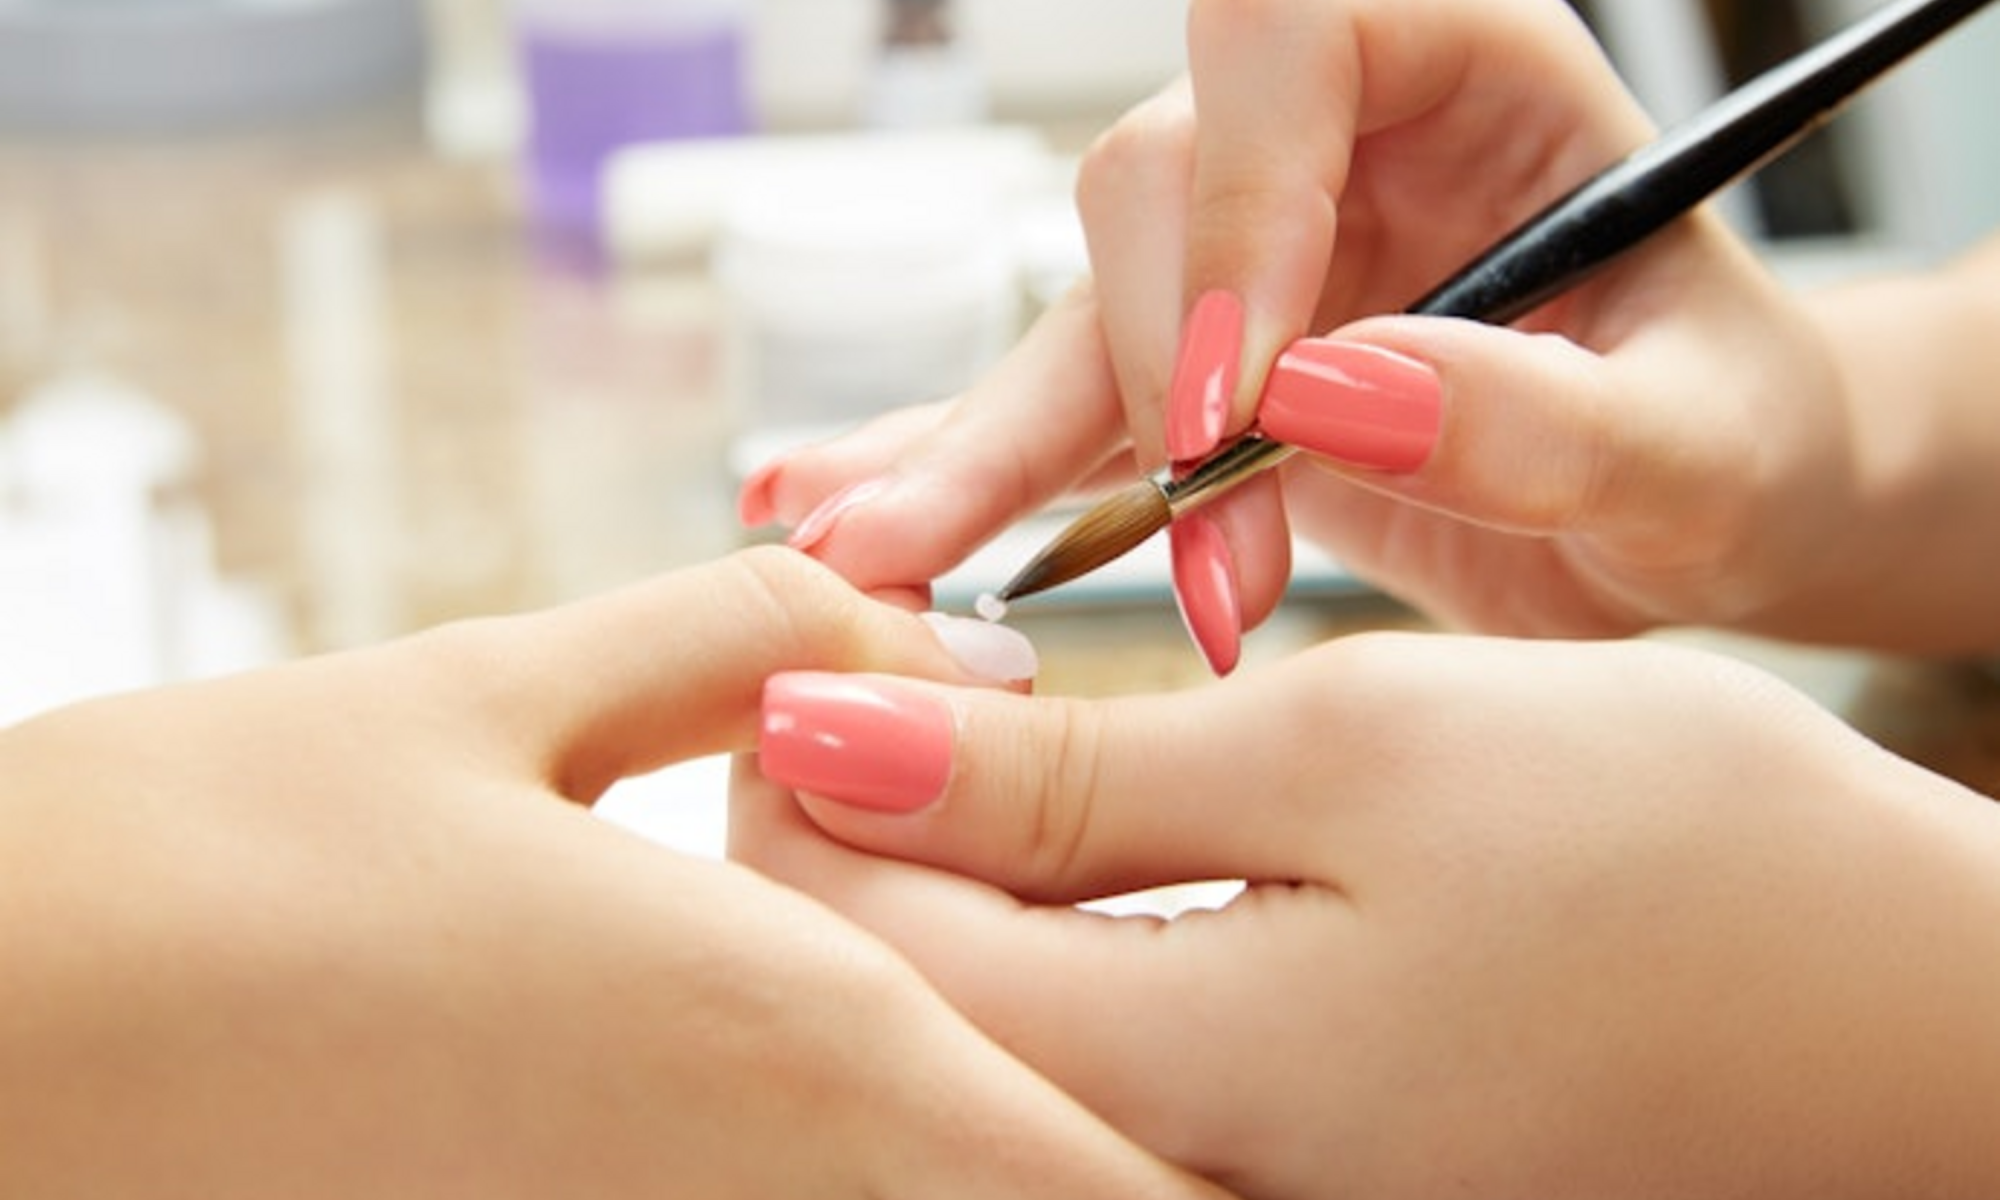
Image: us.my-best.com
What You Need:
- Nail polish or acrylic application tools
What to Do:
- Apply your polish or acrylic without excessive brushing or stirring. Overworking the product introduces air into the formula, leading to bubbles.(4)
- For acrylics, use the correct liquid-to-powder ratio to avoid thick or uneven application.
How Often:
Make it a habit during every application to use a gentle, steady hand for smoother results.
9. Seal With a High-Quality Top Coat
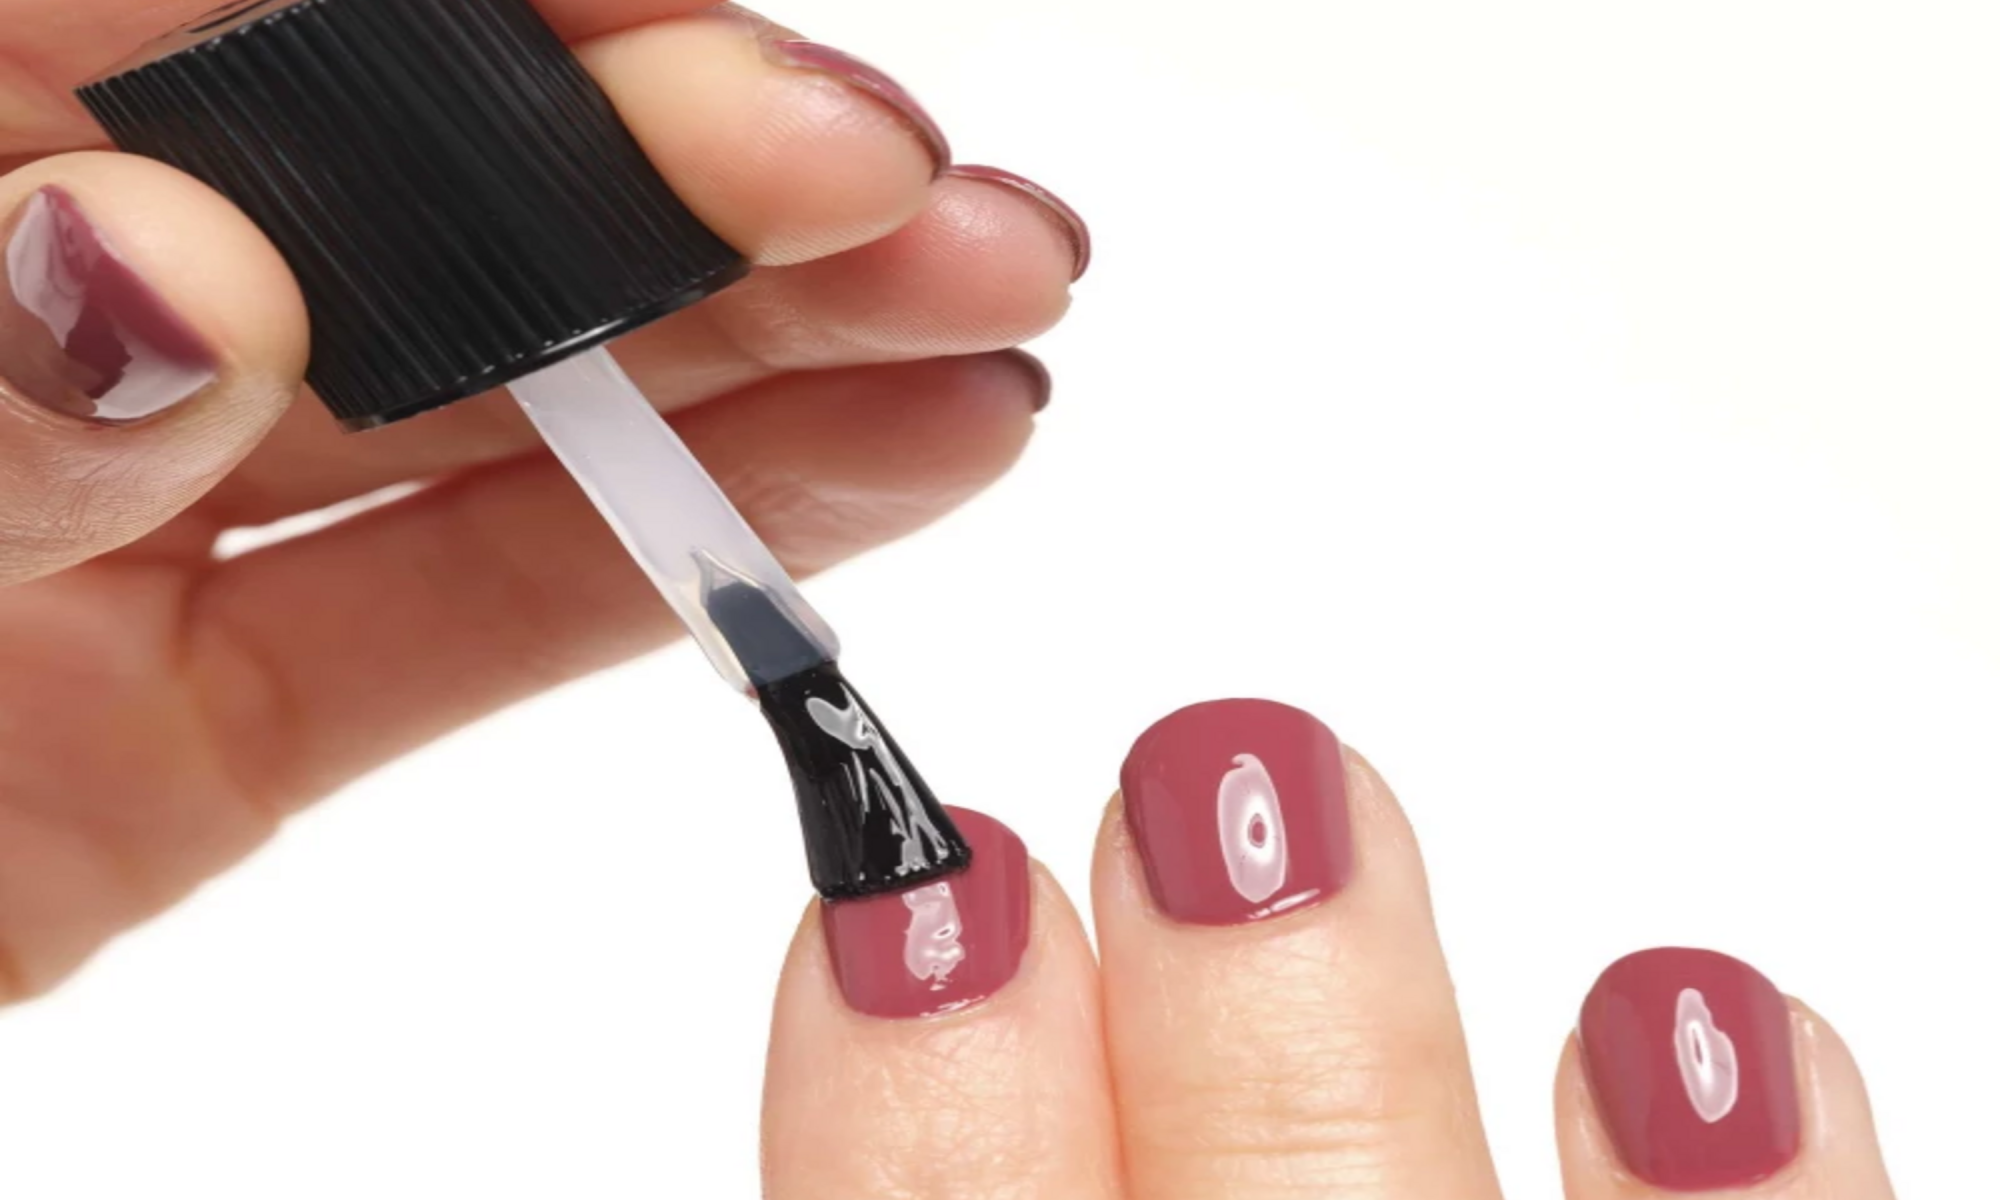
Image: artdeco.com
What You Need:
- A high-quality top coat
What to Do:
- Use a top coat that is compatible with your polish or acrylic brand.
- Apply a thin, even layer of top coat to seal your design and prevent bubbles from forming as it dries.
How Often:
Finish every manicure with a top coat to ensure a long-lasting, bubble-free finish.
10. Allow Adequate Drying Time
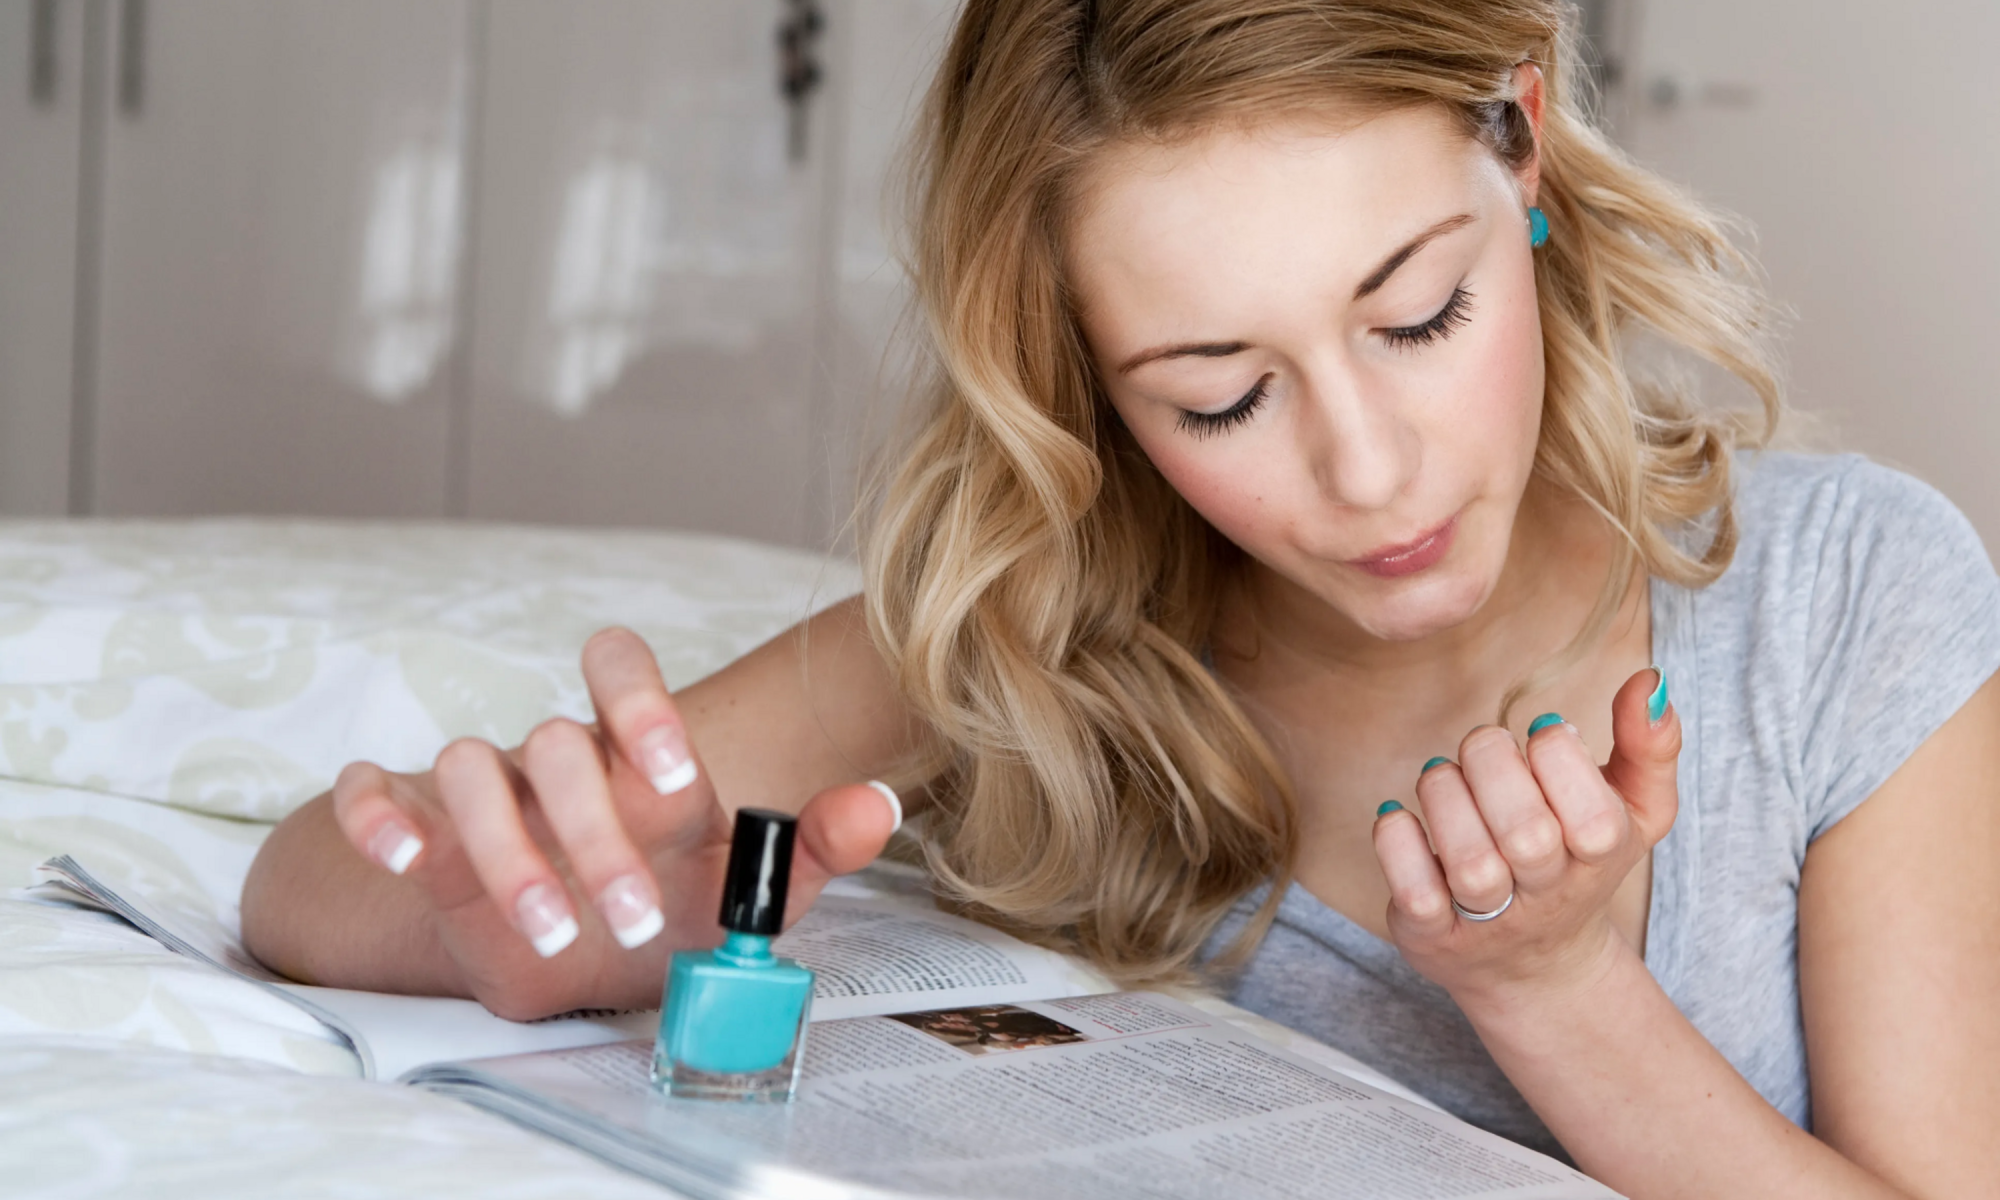
Image: stylecaster.com
What You Need:
- A nail fan or drying spray (optional)
What to Do:
- Avoid rushing between coats or after finishing your manicure. Allow each layer to dry completely to prevent bubbles from forming. (1,6)
- Use a nail fan or drying spray to speed up the drying process if needed.
How Often:
Practice patience during every manicure session to ensure proper drying and a flawless finish.
11. Properly Store Your Products
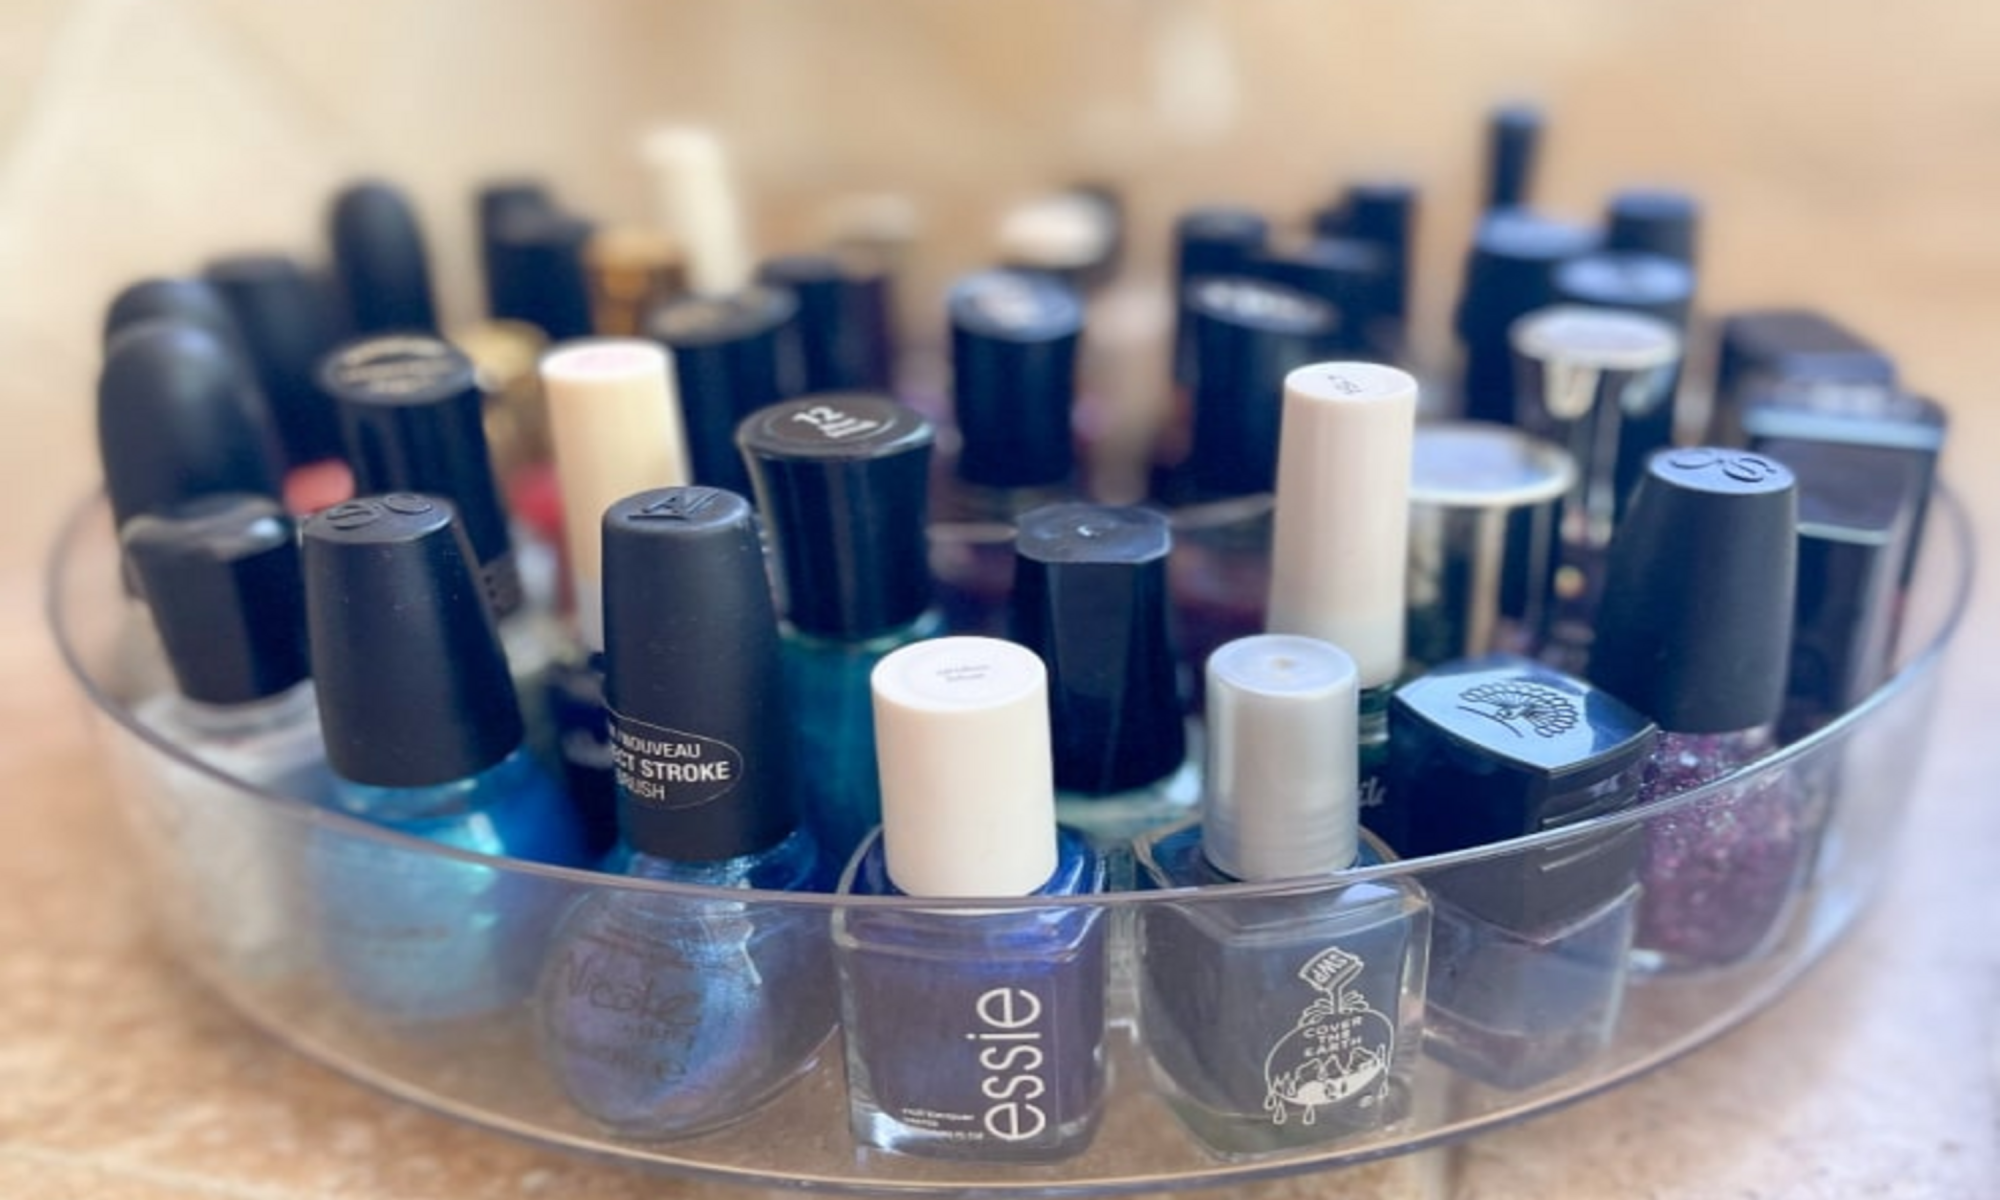
Image: thedesigntwins.com
What You Need:
- A cool, dry storage area (5)
- Nail polish organizers (optional)
What to Do:
- Store your nail polish bottles upright in a cool, dry place away from direct sunlight.
- Keep lids tightly sealed to prevent the formula from thickening or drying out.
How Often:
Always store your products properly after every use to maintain their quality and consistency.
12. Maintain Tools and Brushes
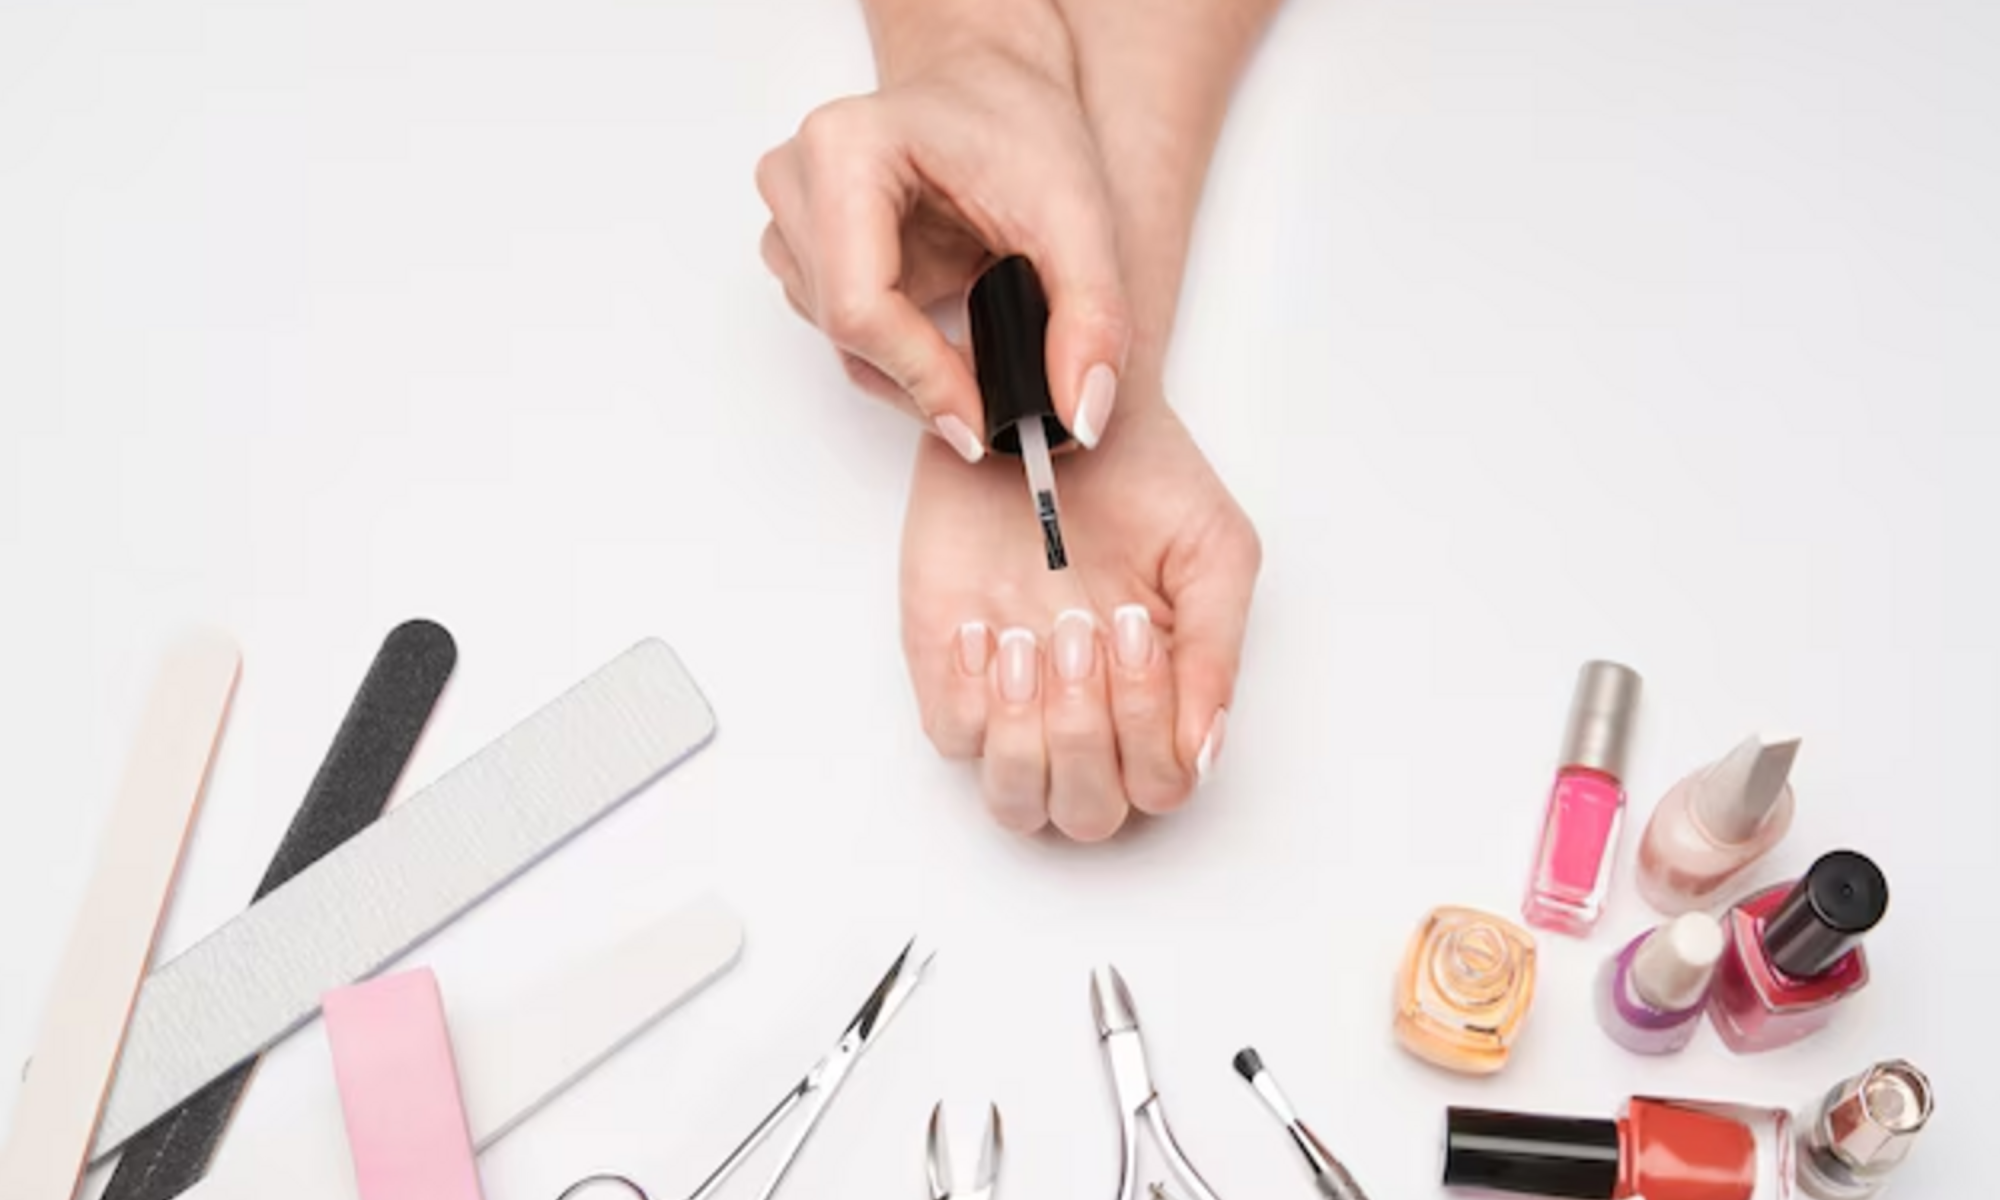
Image: freepik.com
What You Need:
- Brush cleaner
- Lint-free wipes
What to Do:
- Clean your brushes and tools regularly to prevent product buildup, which can cause uneven application and air bubbles.(4)
- Wipe off excess product from your brushes after each use.
How Often:
Clean your tools after every manicure session to keep them in top condition.
Final Thoughts
You can get rid of air bubbles and consistently get a perfect, polished finish by implementing these recommendations into your nail care regimen. Remember, the key is preparation, patience, and using the right techniques and products. With consistent practice, bubble-free nails can become your new norm.
What are your go-to tricks for avoiding air bubbles in your nail designs? Share your tips and experiences below—we’d love to hear them!
Key Takeaways
- Always opt for fresh, reputable nail polishes or acrylics and ensure your brushes and tools are clean to prevent product buildup and air bubbles.
- Apply your nail polish or acrylic in thin, even coats, allowing each layer to dry completely before adding the next to avoid trapping air.
- Ensure your workspace is well-ventilated, with a consistent temperature, to prevent improper drying and air bubble formation.
- Allow adequate drying time between coats and clean your tools regularly to maintain smooth, bubble-free results.
Frequently Asked Questions
What causes air bubbles in nail polish?
Air bubbles in nail polish can result from shaking the bottle, which introduces air into the formula. Applying thick layers of polish or using old, thickened products can also contribute to bubble formation. .
How can I prevent air bubbles when applying nail polish?
To prevent air bubbles, gently roll the nail polish bottle between your palms instead of shaking it. Apply thin, even layers of polish, allowing each coat to dry completely before adding another. Additionally, ensure your nails are clean and free from oils or moisture before application.
Why do air bubbles appear in acrylic nails?
Air bubbles in acrylic nails can occur due to overworking the acrylic mixture, using incorrect liquid-to-powder ratios, or trapping air during application. Environmental factors, such as high humidity or temperature, can also contribute to bubble formation.
How can I prevent air bubbles in acrylic nail applications?
To prevent air bubbles in acrylic nails, ensure proper nail preparation and use the correct liquid-to-powder ratio. Avoid overworking the acrylic mixture and be mindful of environmental conditions, such as humidity and temperature, during application.
Does the environment affect air bubble formation in nail applications?
Yes, environmental factors like humidity and temperature can influence air bubble formation. High humidity can cause lifting and bubbles, while extreme temperatures can affect the consistency of nail products.
How can I fix air bubbles that have already formed in my nail polish?
If air bubbles have formed in your nail polish, you can try gently pressing the bubble with your brush to release the trapped air before the polish dries. If the bubble persists after drying, you may need to remove the affected layer and reapply the polish.
References
- Why Does My Nail Polish Bubble
https://orlybeauty.com/blogs/news/why-does-my-nail-polish-bubble
- How to Avoid Those Frustrating Air Bubbles in Nail Art
https://www.loveyournails.in/nail-products/how-to-avoid-those-frustrating-air-bubbles-in-nail-art
- How Do You Stop Nail Polish From Bubbling?
https://www.makeup.com/nails/nail-polish/prevent-nail-polish-bubbling
- How to Avoid Bubbles in Nail Polish
https://ndnailsupply.com/blogs/articles/how-to-avoid-bubbles-in-nail-polish
- How to Prevent Bubbles in Nail Polish, According to Nail Experts
https://www.byrdie.com/bubbles-in-nail-polish-5271077
- How can I avoid air bubbles in clear acrylic?
https://www.nailsmag.com/598587/how-can-i-avoid-air-bubbles-in-clear-acrylic

